English
 русский
 عربى
عربى
Get in touch
Get in touch
Jun 25, 2025
On-site valve testing is an essential part of maintaining industrial pipeline systems, ensuring that valves function correctly and safely under operating conditions. Unlike laboratory-based tests, on-site testing requires specialized equipment, precise procedures, and careful attention to detail to deliver reliable results in the field. This article provides a practical guide to effectively conducting on-site valve testing, focusing on the use of the Valve Test Pump Unit and the Valve Air Tightness Tester.

Preparing for On-Site Valve Testing
Before beginning the testing process, proper preparation is critical. It is important to confirm that all necessary tools, testing equipment, and safety gear are available and in working condition. On-site testing environments can vary greatly, so understanding site-specific conditions such as pressure ratings, fluid types, and ambient temperature will help in selecting the appropriate test methods and equipment.
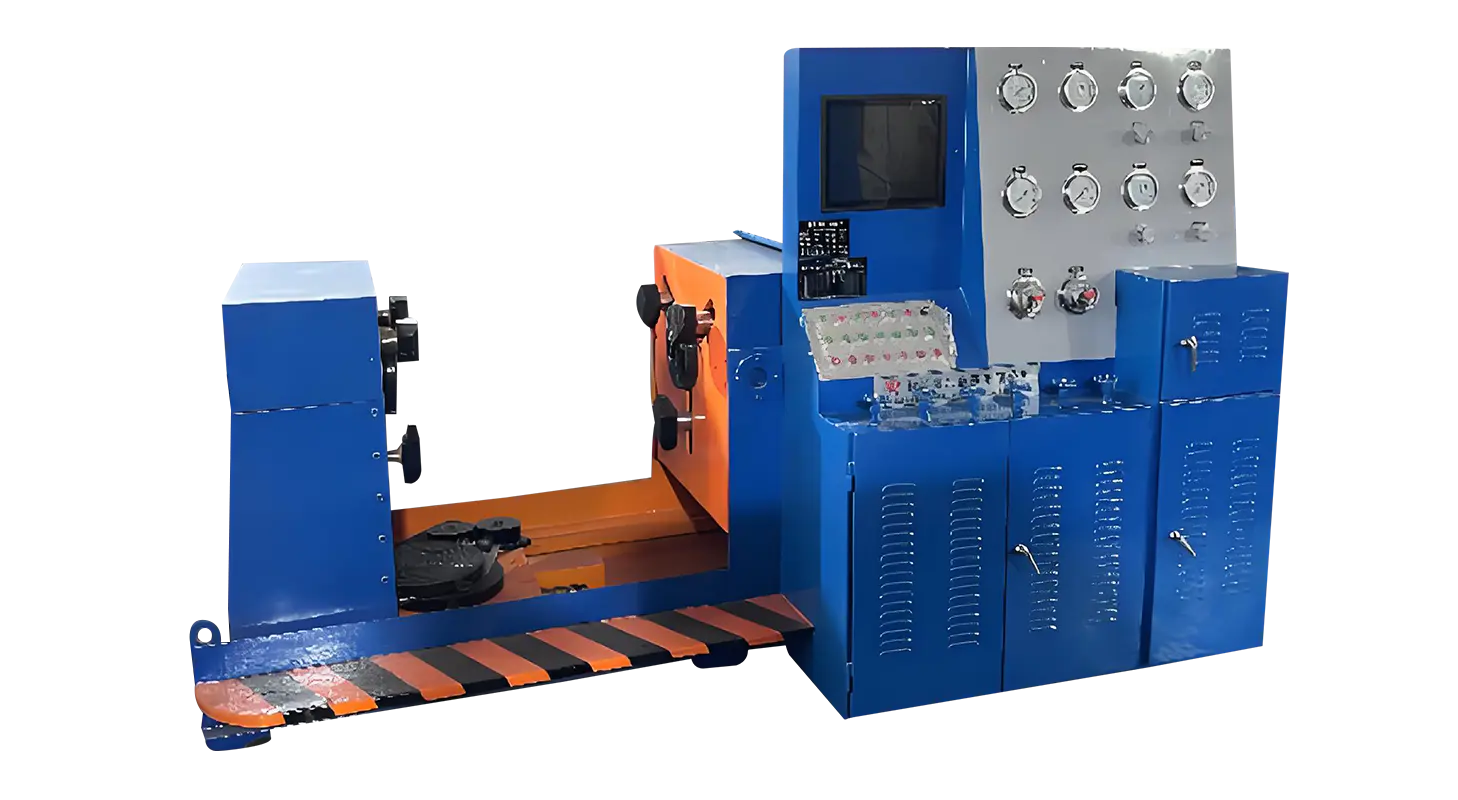
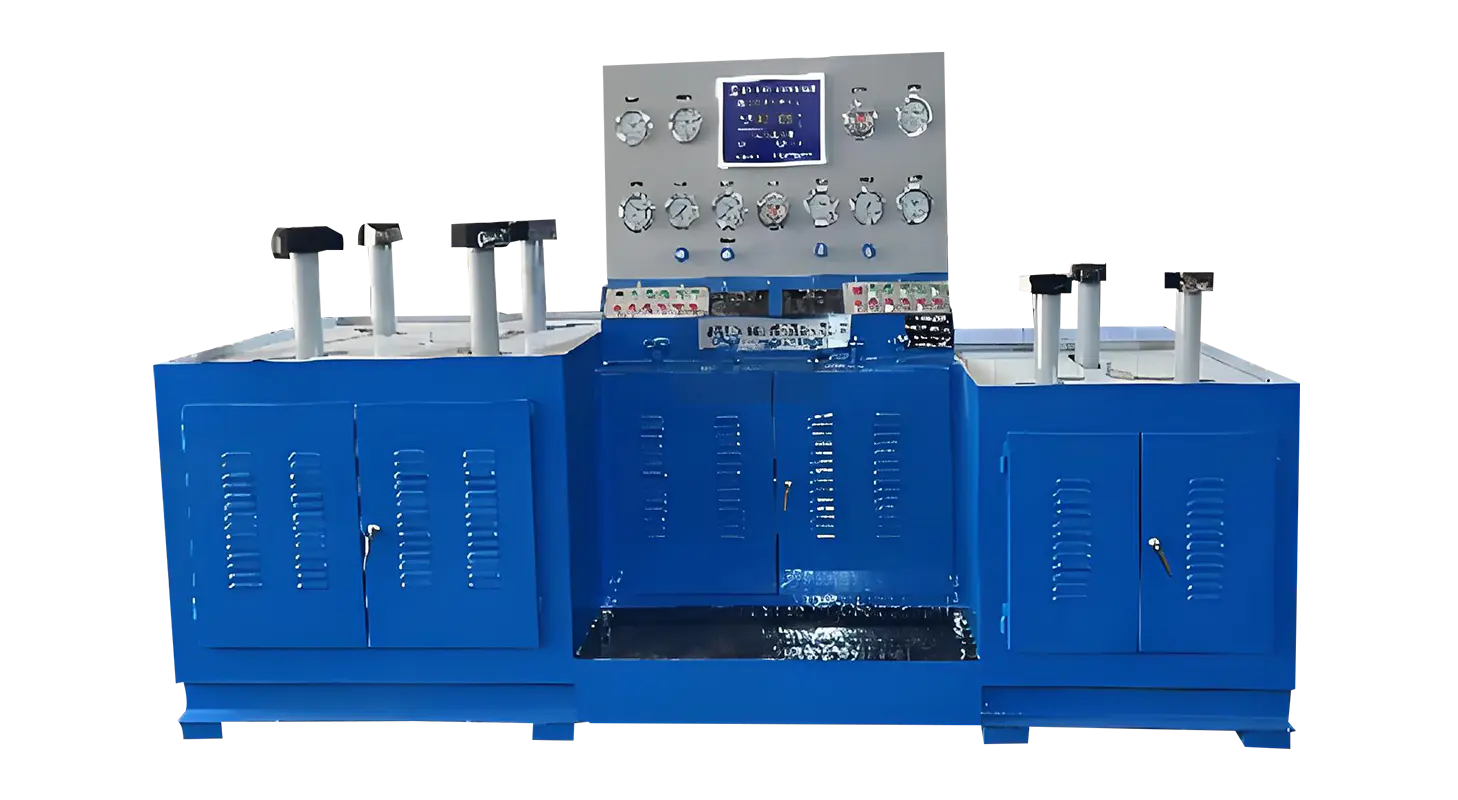
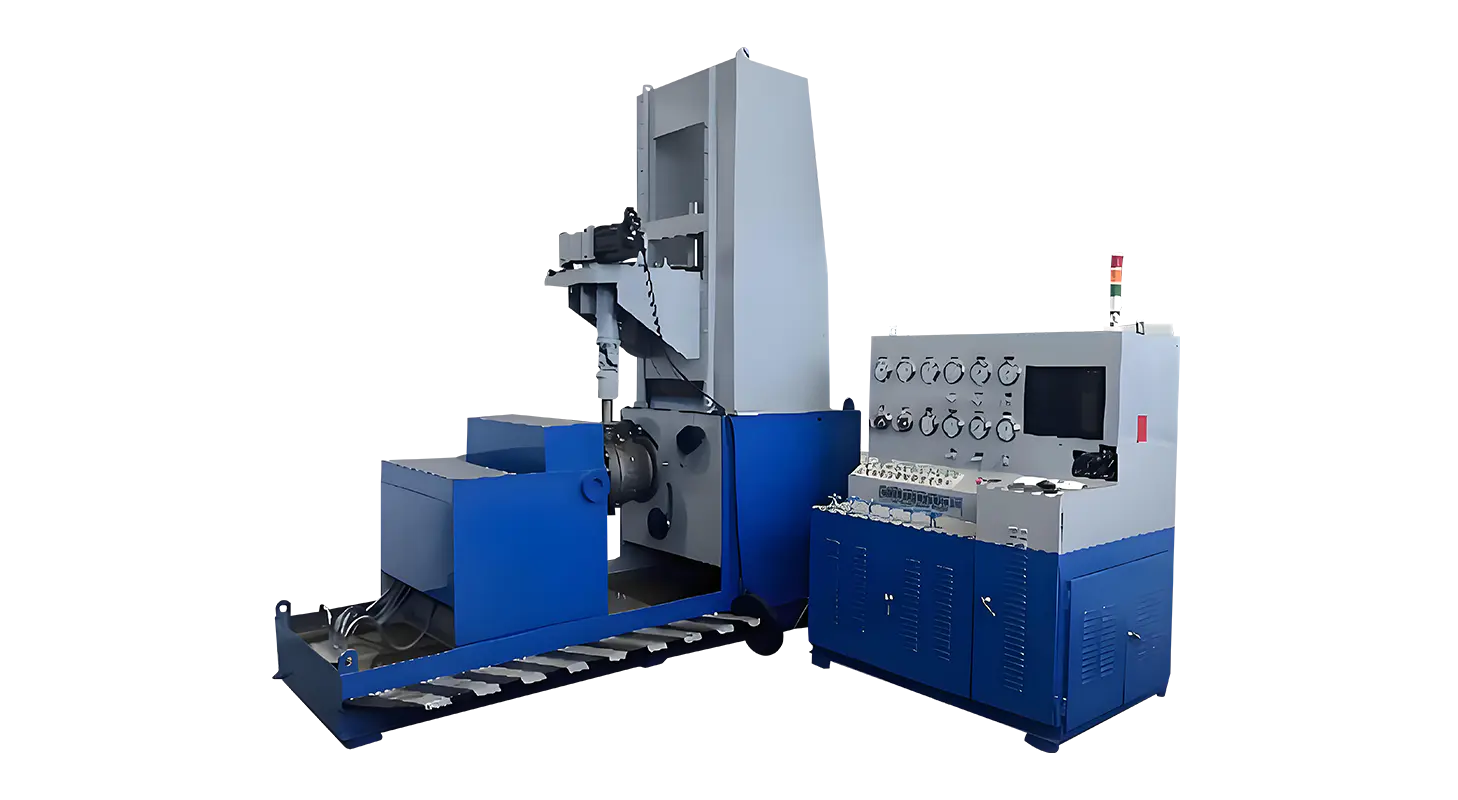
Equipment Selection: The Role of the Valve Test Pump Unit
A Valve Test Pump Unit plays a vital role in the on-site testing process. This equipment is used to generate the required hydraulic pressure for valve pressure testing. When selecting a Valve Test Pump Unit for field applications, several factors need to be considered, including pressure range, flow capacity, mobility, and compatibility with the valve types being tested.
The Valve Test Pump Unit must be capable of providing stable and controlled pressure throughout the test cycle. The unit should also have reliable pressure gauges and safety relief systems to ensure controlled operation during the testing process. Portable pump units are often preferred for on-site work due to their ease of transportation and flexible setup options.
Valve Pressure Testing Procedure
The primary purpose of valve pressure testing is to verify the valve’s ability to withstand the specified pressure without leakage or deformation. Here are the typical steps involved in conducting pressure tests using a Valve Test Pump Unit:
Positioning the Valve: Secure the valve in a test-friendly position, ensuring that it is properly supported and accessible for connection to the pump unit.
Connecting the Pump: Attach the Valve Test Pump Unit to the valve using appropriate fittings and hoses. Ensure that all connections are tight and leak-free.
Filling the Valve: Gradually fill the valve with the designated test fluid, commonly water or oil, using the pump unit. Air should be carefully purged from the system to prevent inaccurate results.
Pressurization: Increase the pressure slowly to the target test value while monitoring the pressure gauge on the pump unit.
Holding Pressure: Maintain the target pressure for a specific duration to observe whether any pressure drop occurs, which may indicate leakage.
Recording Results: Document all readings, test conditions, and any observed abnormalities for quality records and further analysis.
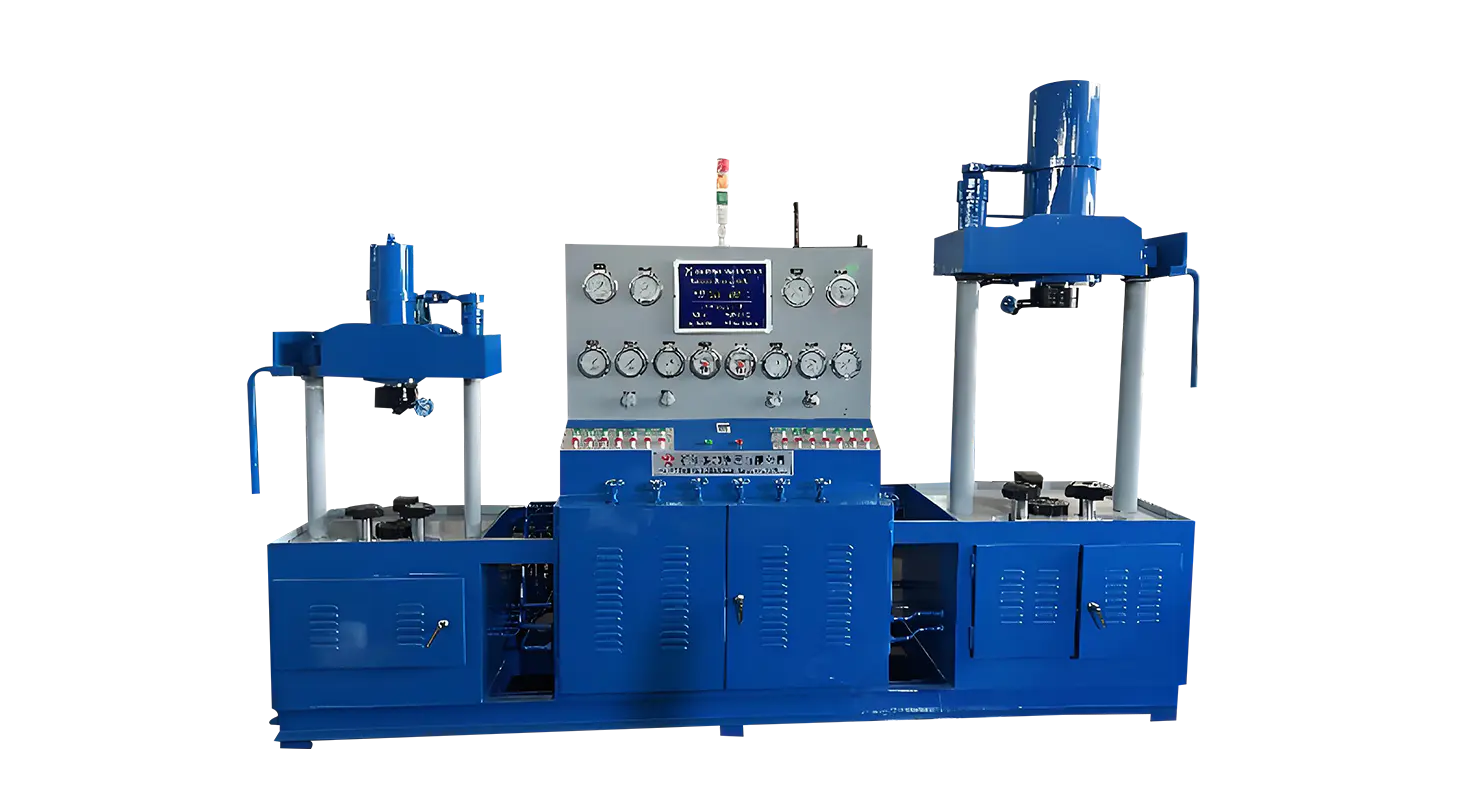
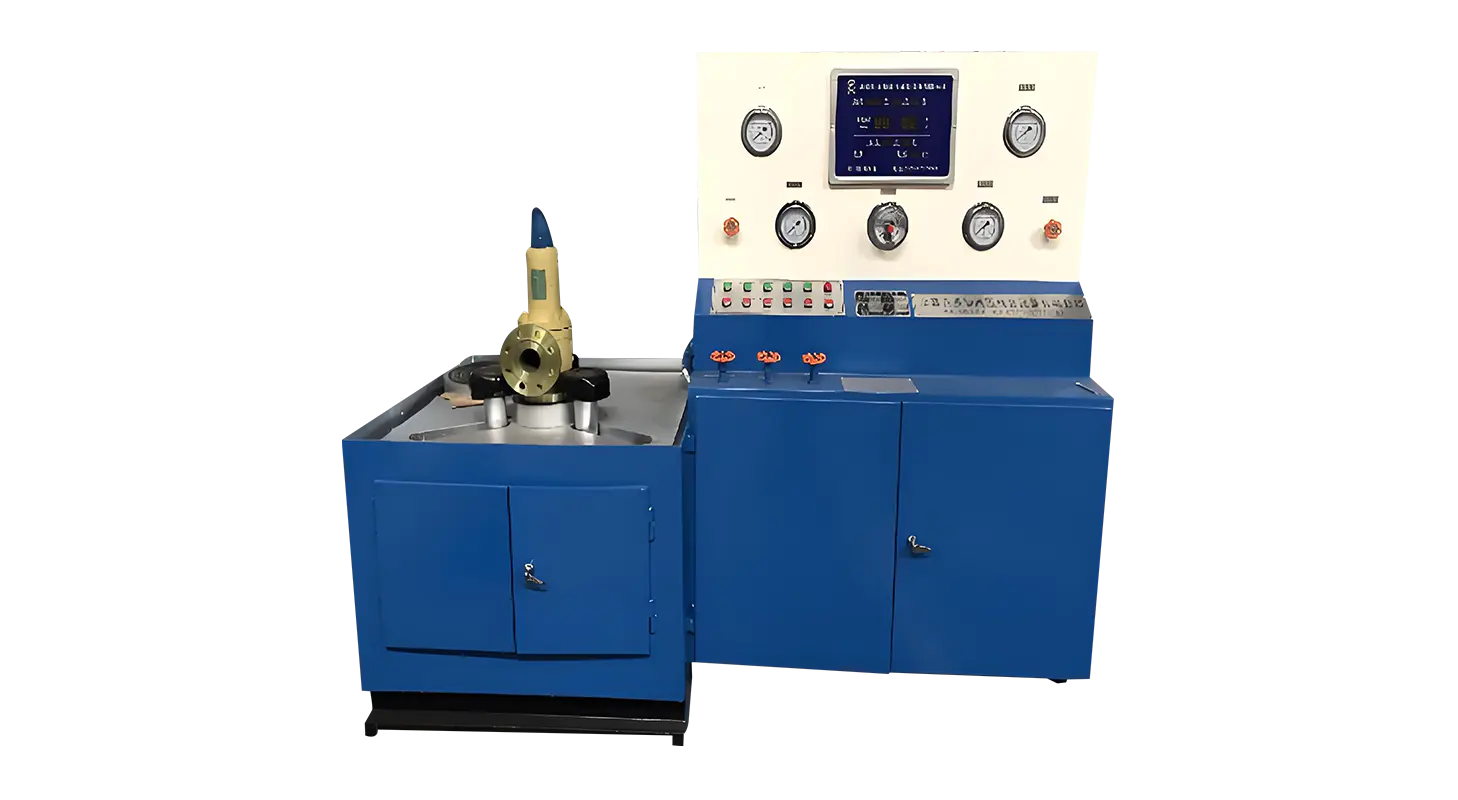
Air Tightness Testing with Valve Air Tightness Tester
After hydraulic testing, it is often necessary to perform air tightness tests to verify the valve's sealing performance against gas leakage. The Valve Air Tightness Tester is specifically designed for this purpose.
The Valve Air Tightness Tester uses compressed air or nitrogen to apply pressure to the valve and check for air leaks that may not be detected during hydraulic testing. Air leakage tests are particularly important in applications where gas containment is critical.
Air Tightness Testing Steps:
Setup: Connect the Valve Air Tightness Tester to the valve, ensuring that seals and adapters are properly fitted.
Pressurization: Apply air pressure gradually to the required level, carefully observing the pressure gauge for stability.
Leak Detection: Use appropriate leak detection methods such as soap solution, pressure decay monitoring, or electronic leak detectors to identify any escaping air.
Observation Period: Hold the pressure for a defined period to confirm the valve’s ability to maintain air tightness.
Data Recording: Log all measurements, test durations, and leakage findings as part of the valve’s service record.
Safety Considerations
Safety is always a priority during on-site valve testing. Personnel should wear protective equipment and follow safety procedures to manage pressurized systems. Both the Valve Test Pump Unit and the Valve Air Tightness Tester must be regularly inspected to ensure they are in proper working order. Sudden pressure releases or incorrect setup can advance to equipment damage or injury, so careful operation is essential.
Effective on-site valve testing requires thorough preparation, the correct use of equipment, and strict attention to safety and procedure. By using a Valve Test Pump Unit for hydraulic pressure testing and a Valve Air Tightness Tester for gas tightness verification, technicians can accurately assess valve performance and ensure reliable operation in their systems. Detailed documentation of all testing steps and results will help maintain valve integrity and support ongoing system maintenance efforts.
Related Products
Contact us
Address
Sanqiao Industrial Zone, Oubei, Yongjia County, Zhejiang Province, China
Phone
+86-13676520568
Telephone number
+86-13676520568
Fax
products
Quick Links
QR CODE