English
 русский
 عربى
عربى
Get in touch
Get in touch
Jun 25, 2025
Valve tightness testing is a critical procedure to ensure the reliability and safety of valves used in various industrial applications. Whether you are working with gas valves, ball valves, or other types, conducting a thorough tightness test can help identify leaks, weak points, and potential failures before the valve is put into service. This article provides a detailed step-by-step guide on how to perform a valve tightness test, incorporating the use of a gas valve pressure tester and a ball valve testing machine.
Step 1: Preparation and Safety Measures
Before beginning any valve tightness test, it is essential to prepare the workspace and follow safety protocols. Ensure the valve is clean and free from debris. Confirm that the valve is correctly installed or securely fixed on the testing bench. When working with gas valves, make sure the area is well-ventilated to avoid the buildup of any hazardous gases.
Safety gear, such as gloves, goggles, and protective clothing, should be worn throughout the testing process. Additionally, verify that the gas valve pressure tester or ball valve testing machine you plan to use has been calibrated and is functioning properly to avoid inaccurate results.
Step 2: Setting Up the Valve Test Equipment
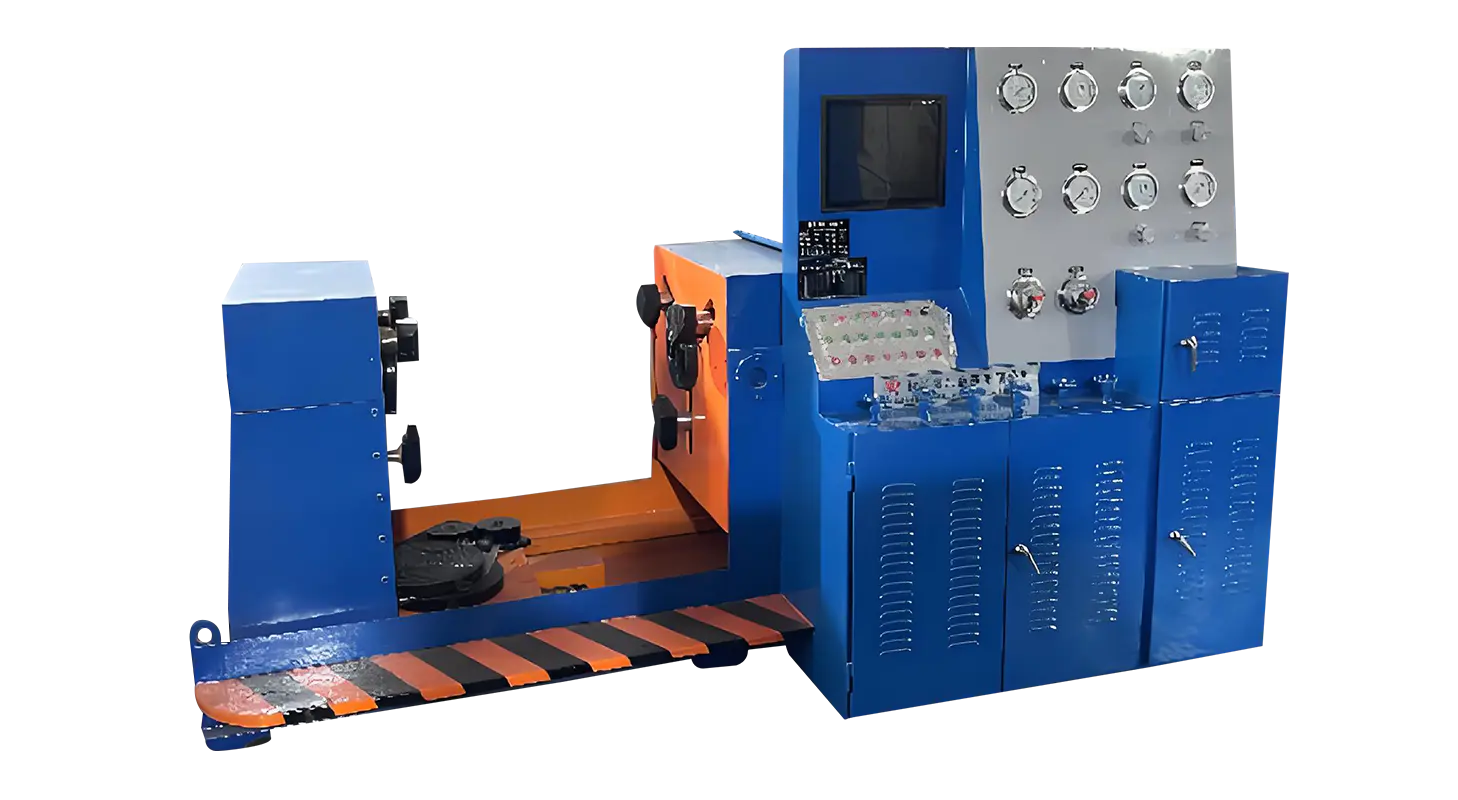
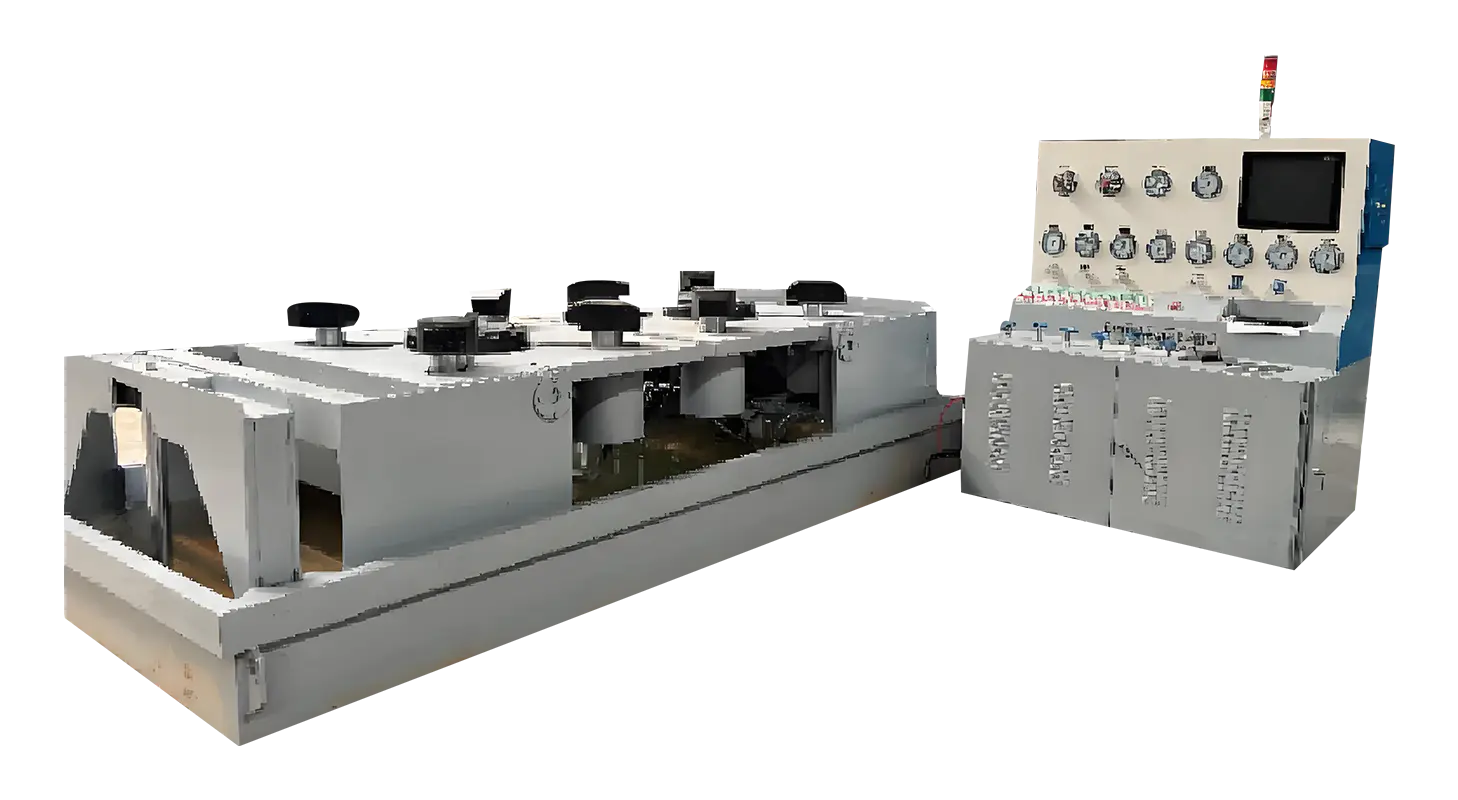
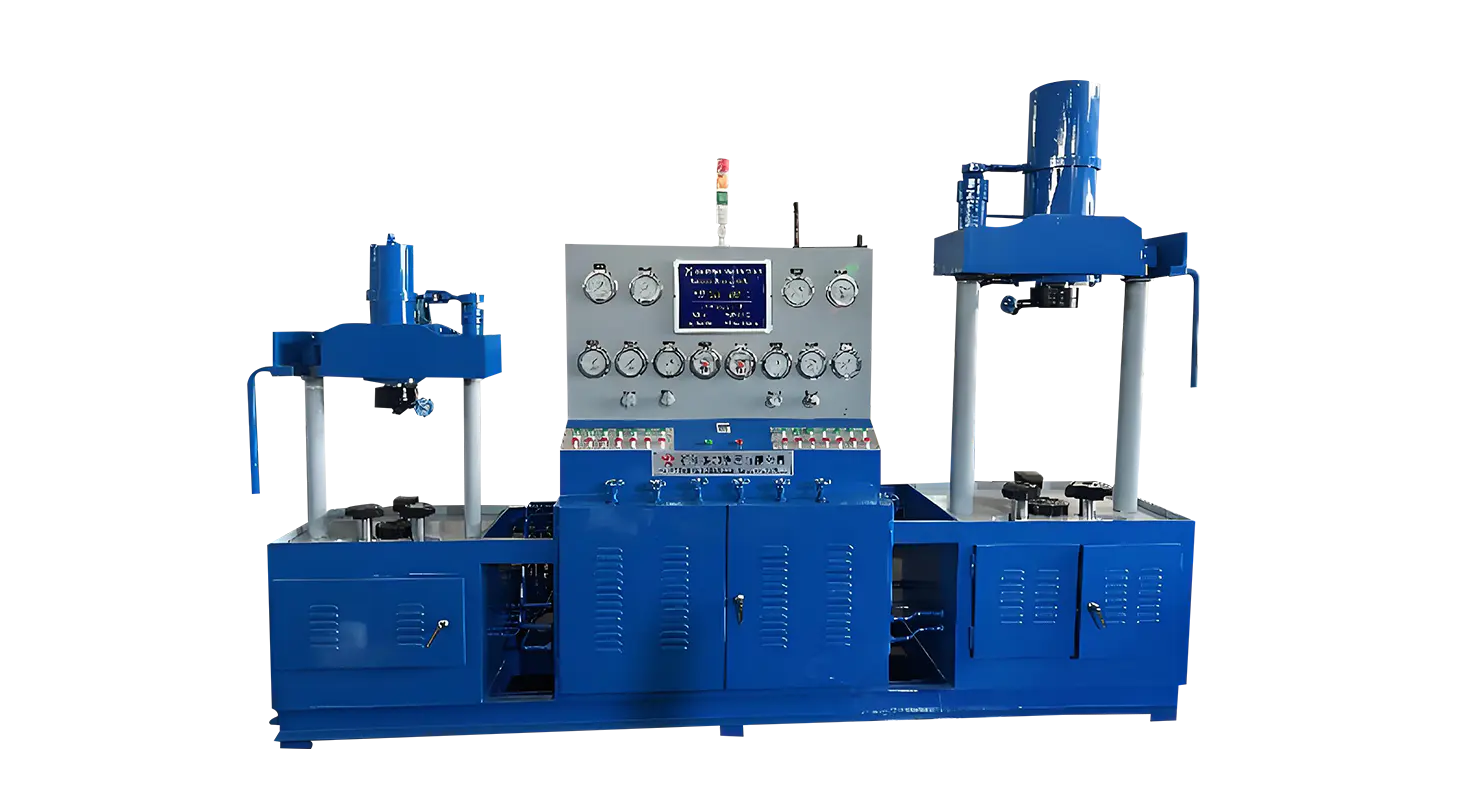
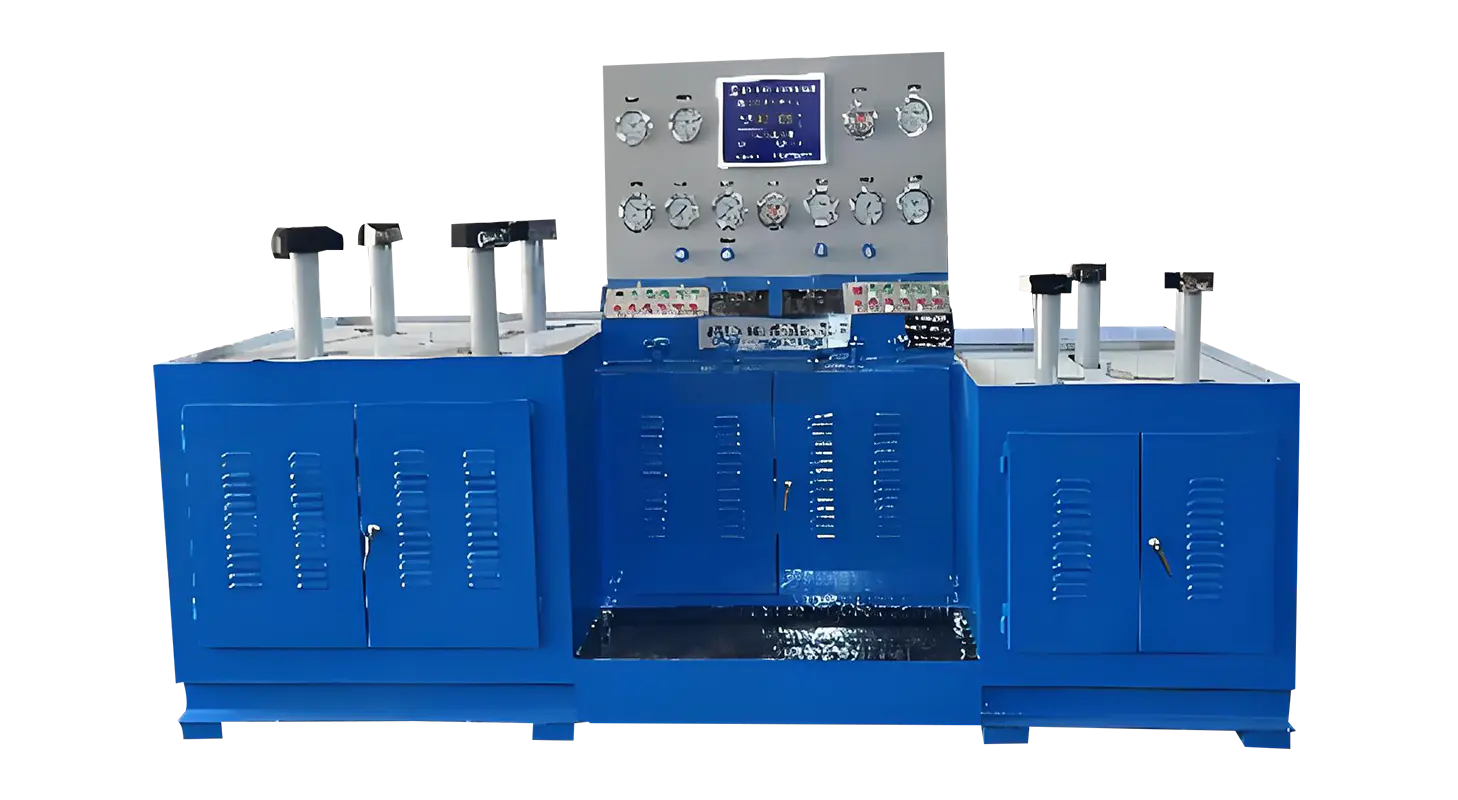
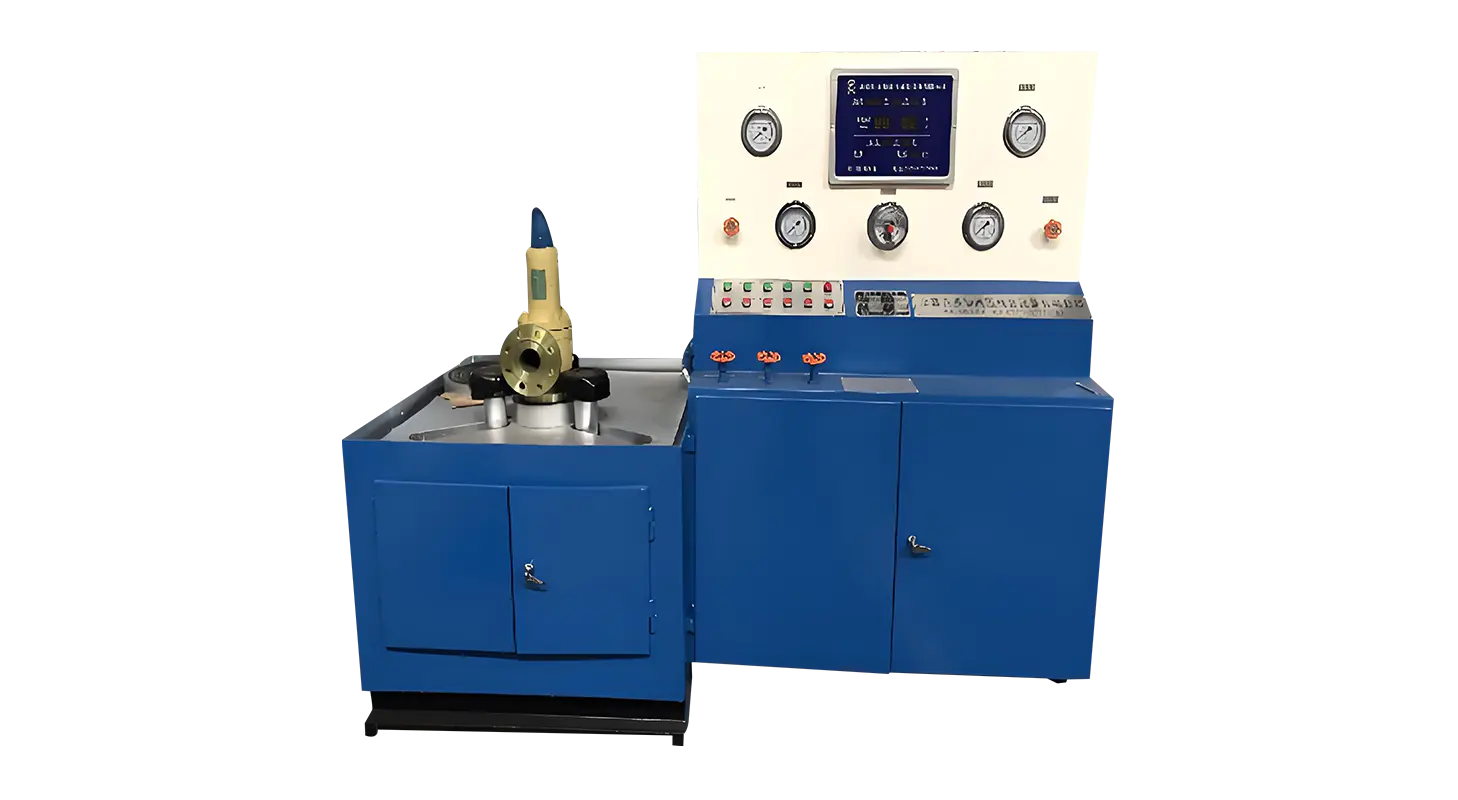
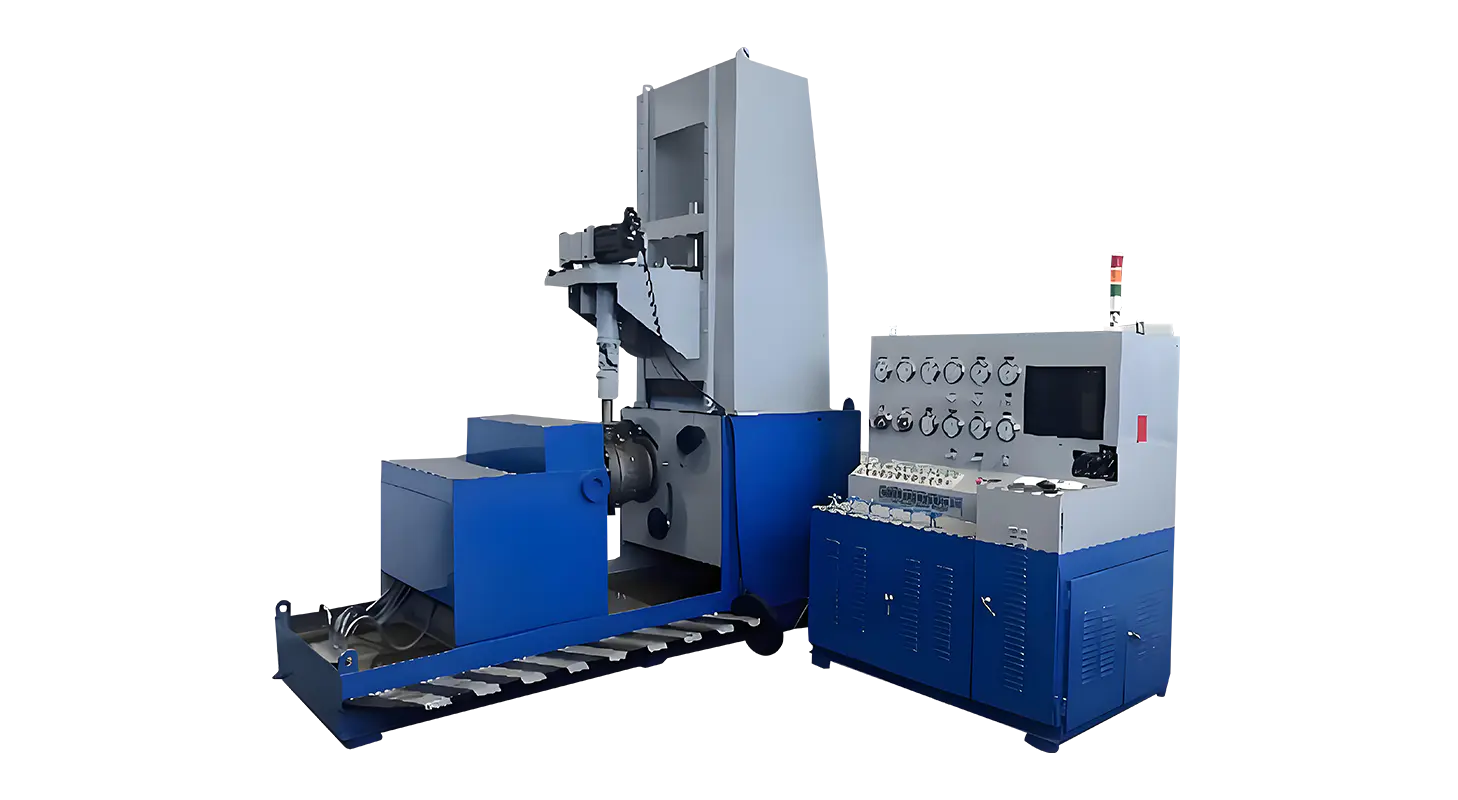
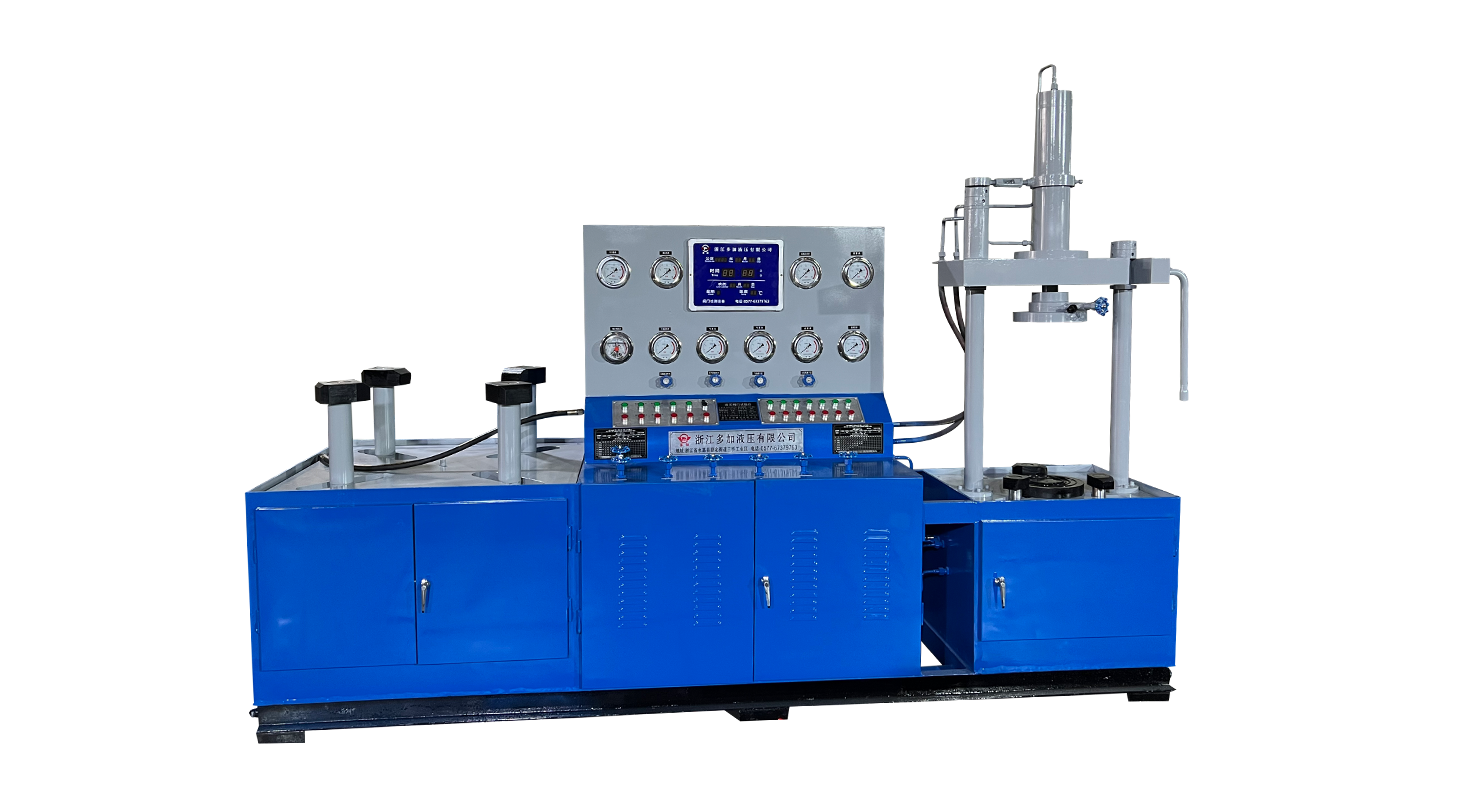
Depending on the valve type, you will use specialized testing equipment. For gas valves, a gas valve pressure tester is typically used to apply controlled pressure to the valve and detect leaks. For ball valves, a ball valve testing machine can simulate operational conditions, apply pressure, and measure tightness accurately.
Connect the valve securely to the appropriate testing machine. Ensure all fittings and connections are tight to prevent any leaks that could interfere with the test results. The testing machine should be capable of both pressurizing the valve and measuring the pressure over time to check for pressure drops.
Step 3: Applying Test Pressure
Once the valve is securely connected, begin applying pressure using the testing equipment. For a gas valve pressure tester, the pressure applied should match or slightly exceed the valve’s rated working pressure. This is to simulate real operating conditions and reveal any potential leakage points.
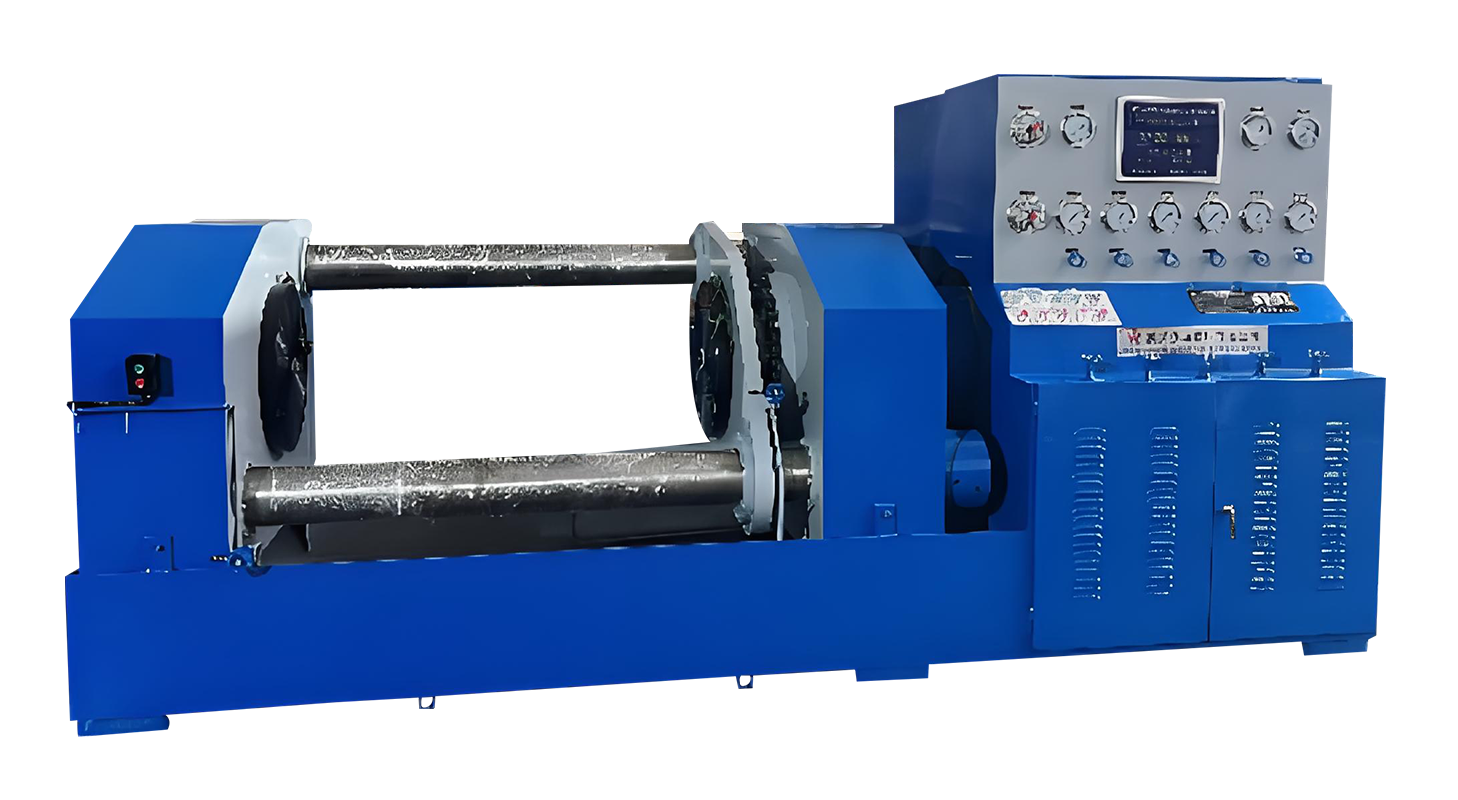
In the case of a ball valve testing machine, the pressure application may be accompanied by rotational operations to mimic the valve's opening and closing movements. This dynamic testing can help identify leaks that occur during valve movement and not just when the valve is static.
Step 4: Monitoring for Leaks
After applying pressure, carefully monitor the valve and the testing apparatus for any signs of leakage. The gas valve pressure tester typically includes sensors or gauges that detect pressure drops, which indicate leakage. Additionally, you may use leak detection fluids or electronic leak detectors around the valve seals and joints to identify any escaping gas.
For ball valves tested with a ball valve testing machine, the equipment will usually record pressure levels over time. A steady pressure reading indicates that the valve is tight, while a drop in pressure signals leakage.
Step 5: Recording Test Results
It is important to document all observations and measurements during the tightness test. Note the initial pressure, the duration of the test, and any pressure drops recorded by the gas valve pressure tester or ball valve testing machine. Visual observations of leaks or failures should also be recorded.
These records provide valuable data for quality control and can help in diagnosing issues or deciding whether the valve requires repair or replacement.
Step 6: Post-Test Inspection
Once the test is complete, carefully depressurize the valve and disconnect it from the testing equipment. Inspect the valve body, seals, and connections for any visible damage or wear that may have contributed to leakage. This inspection step helps in identifying the root cause of any tightness issues.
If the valve passes the tightness test with no significant leaks, it can be certified for use in its intended application. If leaks are detected, further maintenance or adjustments may be necessary.
Additional Tips for Valve Tightness Testing
Always refer to the valve manufacturer’s guidelines and industry standards when setting test pressures and procedures.
Use compatible fluids or gases during testing to prevent damage to valve components.
Regularly maintain and calibrate your gas valve pressure tester and ball valve testing machine to ensure consistent and reliable testing.
Consider using automated testing equipment for high-volume valve testing to improve efficiency and reduce human error.
Performing a valve tightness test systematically is essential to guarantee valve reliability and safety in industrial systems. By following the steps outlined above and utilizing appropriate equipment like a gas valve pressure tester and a ball valve testing machine, technicians can accurately assess valve tightness, identify leaks, and maintain quality standards. Regular testing helps prevent operational failures and supports safe system performance over time.
Related Products
Contact us
Address
Sanqiao Industrial Zone, Oubei, Yongjia County, Zhejiang Province, China
Phone
+86-13676520568
Telephone number
+86-13676520568
Fax
products
Quick Links
QR CODE