English
 русский
 عربى
عربى
Get in touch
Get in touch
Jun 25, 2025
Pneumatic leak testing is a critical procedure used to ensure the integrity and performance of valves before they are put into service. This type of testing helps identify any leakage points that could compromise the valve’s function, safety, or longevity. In industrial applications, ensuring valves are leak-free is essential for maintaining system reliability and avoiding costly failures. This article will walk you through the steps involved in performing pneumatic leak testing on valves, while also discussing the roles of equipment such as the valve leakage test bench and valve torque test stand.
Understanding Pneumatic Leak Testing
Pneumatic leak testing involves pressurizing a valve with air or an inert gas and monitoring for pressure drops or escaping gas that indicate leaks. Compared to hydraulic testing, pneumatic testing is generally quicker and cleaner, as it does not involve fluids that could create a mess or require additional cleanup. This method is suitable for valves that will operate in gas environments or where liquid testing is not feasible.
Step 1: Preparing the Valve and Equipment
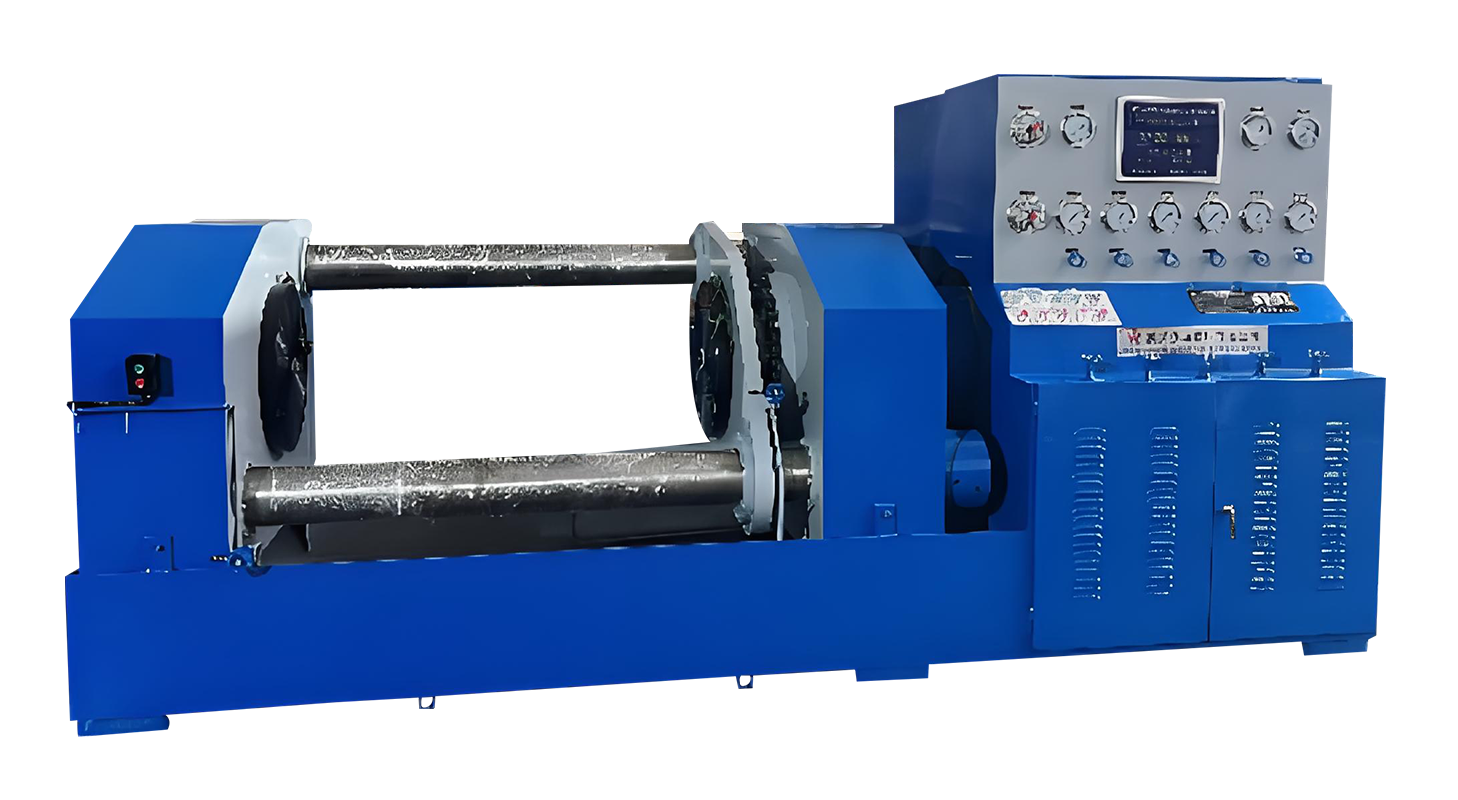
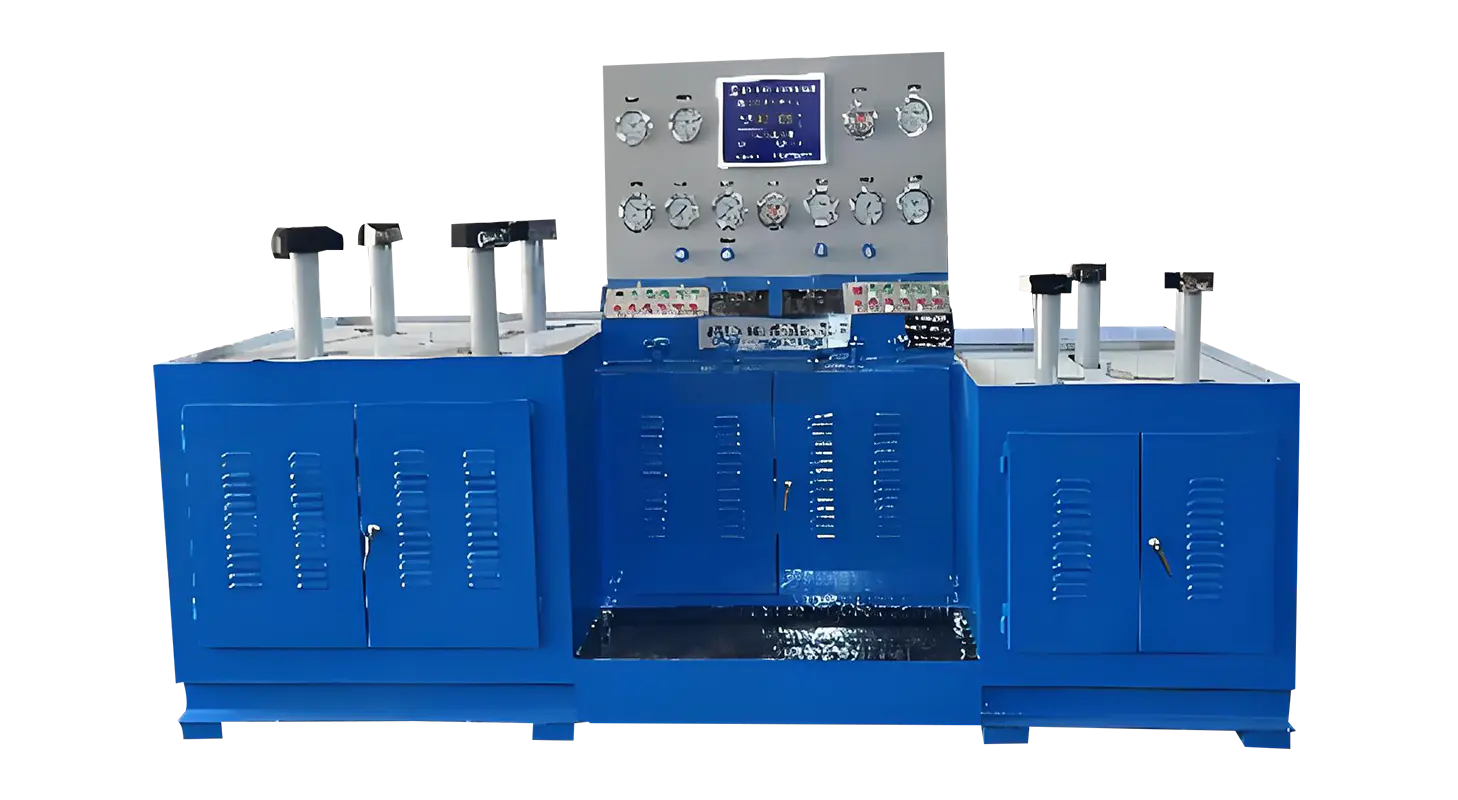
Before starting the pneumatic leak test, ensure that the valve to be tested is clean, properly assembled, and free of visible damage. The valve should be securely mounted on a valve leakage test bench, which is designed to hold valves in place and provide the necessary connections for pressurization and measurement.
The valve leakage test bench typically includes fittings for compressed air input, pressure gauges, and detection sensors. It is important to verify that the bench is calibrated and functioning correctly to provide accurate test results.
Step 2: Setting Up the Valve Test Bench
Connect the valve securely to the valve leakage test bench using the appropriate adapters or fixtures. Ensure that all sealing surfaces are correctly aligned to avoid false leak indications. Close or open the valve according to the test requirements—some tests require the valve to be in a fully closed position, while others test the valve in different states.
Once the valve is mounted, connect the compressed air supply to the test bench. The pressure should be set according to the valve’s design specifications or industry standards. It is important not to exceed the valve’s allowable pressure to prevent damage during testing.
Step 3: Performing the Leak Test
With the valve pressurized, monitor the pressure gauges on the valve leakage test bench for any decrease in pressure over a specified time period. A steady pressure indicates no leaks, while a drop suggests a leak or faulty sealing. For more sensitive leak detection, specialized sensors or acoustic leak detectors can be used to identify the exact location of leakage.
In some cases, the test may involve introducing a tracer gas, such as helium, and using a mass spectrometer to detect minute leaks. However, the basic pneumatic test relying on air pressure and pressure monitoring remains widely used due to its simplicity and cost-effectiveness.
Step 4: Recording and Analyzing Results
Document the pressure readings and any observations during the test. If leaks are detected, note their location and severity. These results help determine whether the valve meets quality requirements or needs repair or replacement.
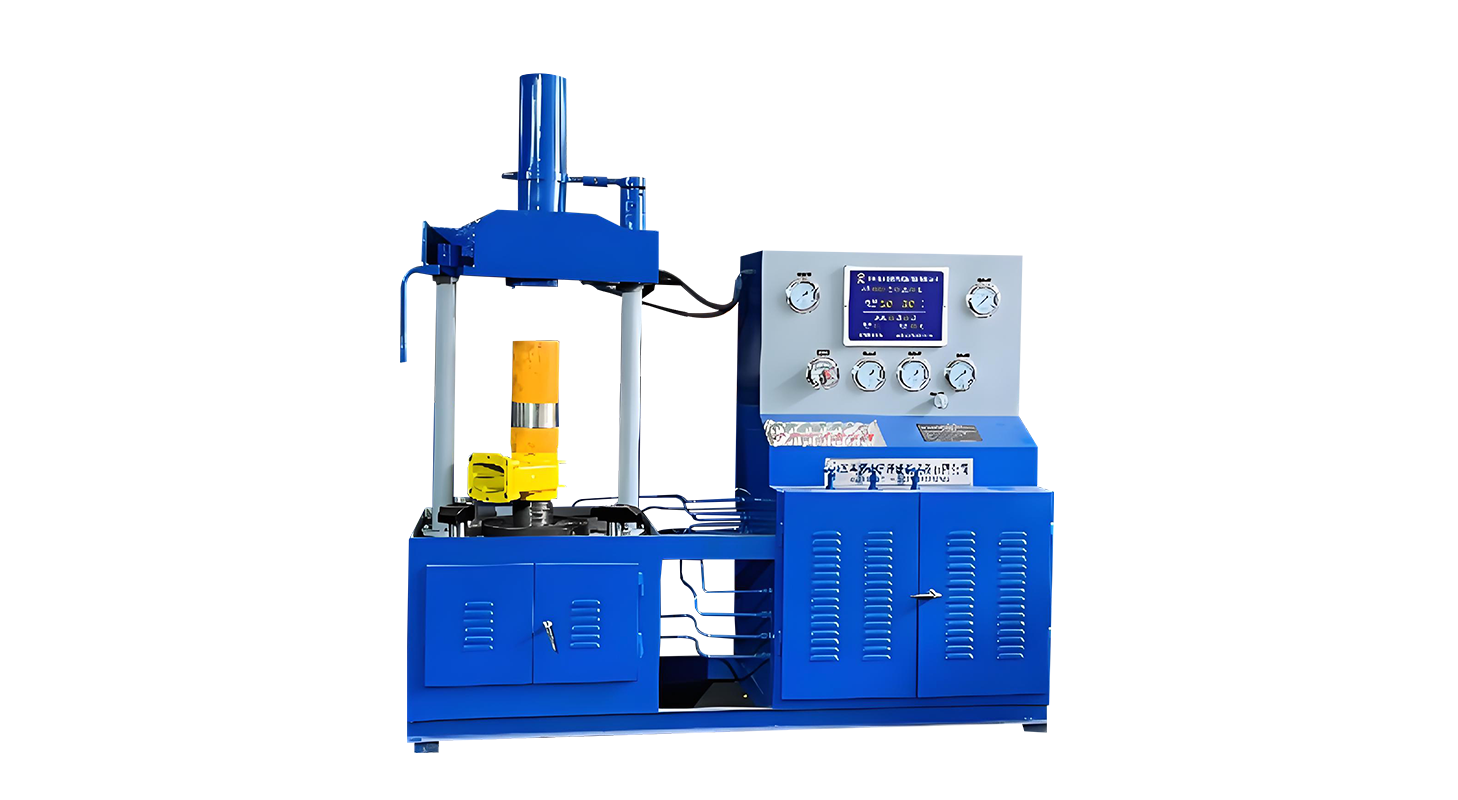
The Role of the Valve Torque Test Stand
While the valve leakage test bench focuses on detecting leaks, it is also important to assess the valve’s mechanical operation, particularly the torque required to open or close it. This is where the valve torque test stand comes into play.
The valve torque test stand measures the torque applied to the valve stem during operation. This measurement helps verify that the valve moves smoothly without excessive force, which could indicate internal damage, improper assembly, or issues with the valve actuator. Combining leak testing with torque testing provides a comprehensive evaluation of valve performance.
Step 5: Conducting Torque Testing (Optional but Recommended)
After pneumatic leak testing, the valve can be transferred to the valve torque test stand. The valve is mounted securely, and a torque sensor measures the rotational force needed to operate the valve. Monitoring torque values over multiple cycles can reveal wear or malfunction before the valve is installed in the field.
Maintenance and Calibration of Testing Equipment
Regular maintenance and calibration of both the valve leakage test bench and valve torque test stand are essential to ensure reliable test results. Calibration ensures that pressure gauges and torque sensors provide accurate readings, which is vital for making informed decisions about valve quality.
Related Products
Contact us
Address
Sanqiao Industrial Zone, Oubei, Yongjia County, Zhejiang Province, China
Phone
+86-13676520568
Telephone number
+86-13676520568
Fax
products
Quick Links
QR CODE