English
 русский
 عربى
عربى
Get in touch
Get in touch
Jun 25, 2025
Setting up a valve test stand is a critical process for ensuring accurate and reliable testing of industrial valves. Whether you are working with a Valve Calibration Test Bench or an Industrial Valve Test Bench, a methodical approach to assembly and setup will help maintain consistent testing quality and extend the lifespan of your equipment. This guide provides a detailed overview of the necessary steps to properly establish your valve testing station.
Understanding the Valve Test Stand
Before starting the setup, it is essential to understand the type of valve test stand you will be working with. A Valve Calibration Test Bench is typically designed to fine-tune and verify valve accuracy by simulating operating conditions and measuring performance parameters. On the other hand, an Industrial Valve Test Bench often handles a wider range of valves and can perform more comprehensive tests, including pressure, leak, and functional tests.
Step 1: Choose a Suitable Location
Begin by selecting a stable and level surface for your valve test stand. The location should have enough space to accommodate the bench and provide easy access for operators. It’s important to ensure that the area has proper ventilation and is free from vibrations or external disturbances that could affect test accuracy.
Step 2: Assemble the Valve Test Bench Frame
More valve test benches arrive with modular components requiring assembly. Follow the manufacturer’s instructions carefully to build the frame securely. Use appropriate tools to fasten all joints, making sure the structure is sturdy. This step is vital for maintaining alignment during testing and for operator safety.
Step 3: Install Pressure and Flow Control Systems
Depending on the test bench type, you will need to install pressure regulators, pumps, and flow meters. On a Valve Calibration Test Bench, precision pressure control is essential to replicate operating conditions accurately. Install pressure gauges and sensors at designated points, ensuring that all connections are leak-tight. For an Industrial Valve Test Bench, multiple pressure and flow measurement devices might be required to accommodate various test protocols.
Step 4: Connect the Test Medium Supply
Connect the valve test bench to the test medium, which could be water, air, or hydraulic fluid, depending on the valve type. Verify that the supply lines are clean and free from contaminants. Use proper fittings to prevent leaks and ensure smooth flow. This connection is crucial for simulating real-world operating environments during valve testing.
Step 5: Set Up Electrical and Control Systems
Modern valve test benches often come equipped with electrical control panels or programmable logic controllers (PLCs) to automate test sequences. Carefully install the control unit and connect all sensors and actuators. Verify wiring according to the electrical schematics and ensure that emergency stop buttons and safety interlocks are functional.
Step 6: Calibrate Measurement Instruments
Calibration is a key function of the Valve Calibration Test Bench. Before running tests, calibrate pressure gauges, flow meters, and other sensors to ensure measurement accuracy. Use standard calibration tools and follow documented procedures. Proper calibration reduces errors and increases confidence in test results.
Step 7: Secure the Valve Under Test
Place the valve securely on the test stand, ensuring proper alignment with the connecting flanges or fittings. Use clamps or mounting brackets to hold the valve firmly in position. On an Industrial Valve Test Bench, the setup should allow for easy swapping of valves of different sizes and types to increase operational flexibility.
Step 8: Perform Initial Safety Checks
Before starting the test, conduct a thorough safety inspection. Check all connections for tightness, verify that pressure relief valves are installed and functional, and confirm that the electrical system is properly grounded. Make sure that all personnel involved in testing are aware of emergency procedures.
Step 9: Conduct Trial Runs
Run initial tests at low pressure and flow rates to identify any leaks or malfunctions in the setup. Monitor all measurement instruments closely during these trial runs. Adjust pressure regulators and flow controllers as needed to achieve desired test conditions.
Step 10: Begin Full Valve Testing Procedures
Once the test stand is properly set up and trial runs are successful, proceed with full valve testing. Record all data systematically, including pressure values, flow rates, and leak measurements. For Valve Calibration Test Benches, compare the test results with valve specifications to identify deviations. On Industrial Valve Test Benches, carry out additional tests such as endurance or cycle testing as required.
Step 11: Routine Maintenance and Documentation
After testing, perform routine maintenance on the valve test stand. Clean all components, inspect for wear, and lubricate moving parts if applicable. Maintain detailed records of all tests and calibrations performed. Proper documentation supports quality control and traceability.
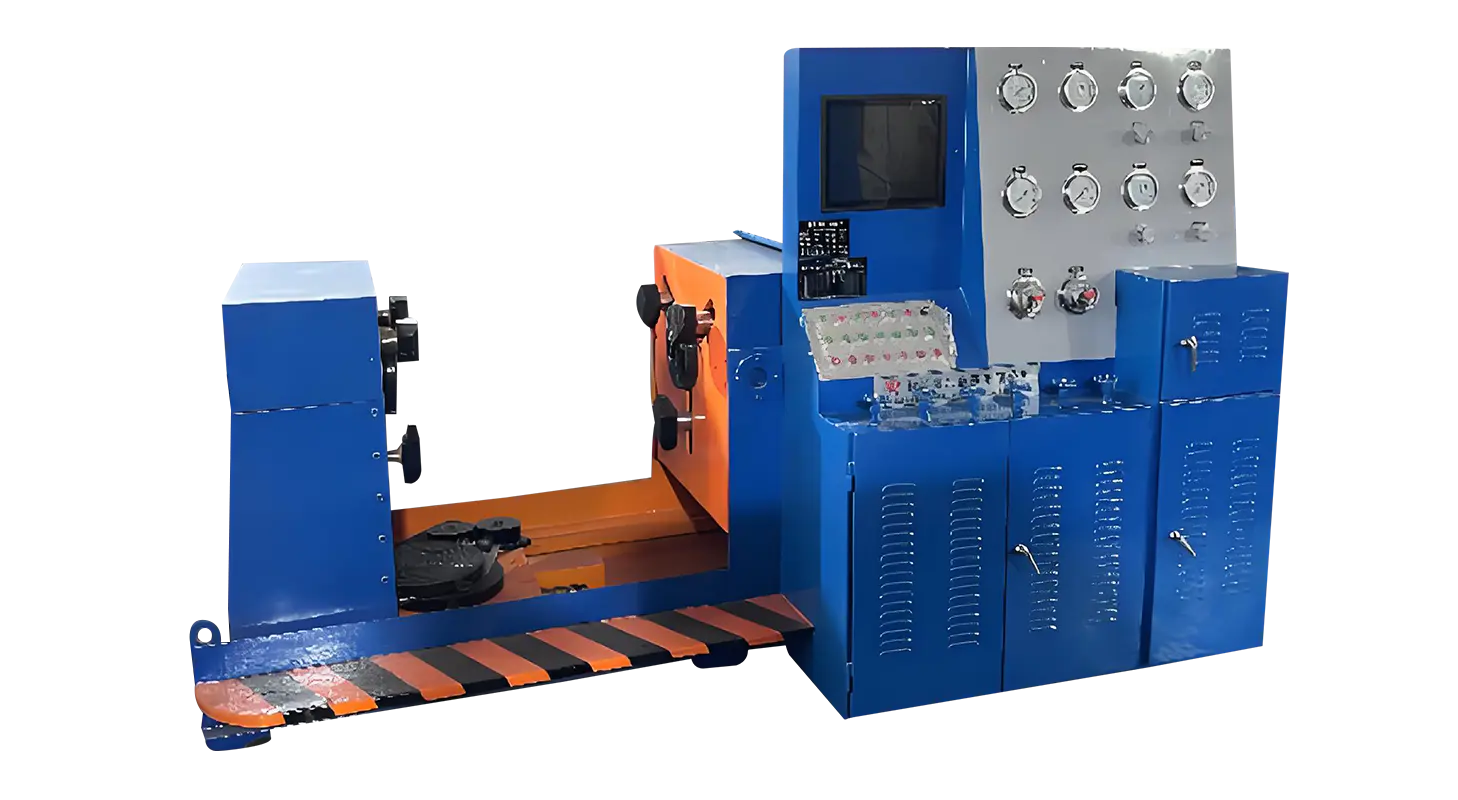
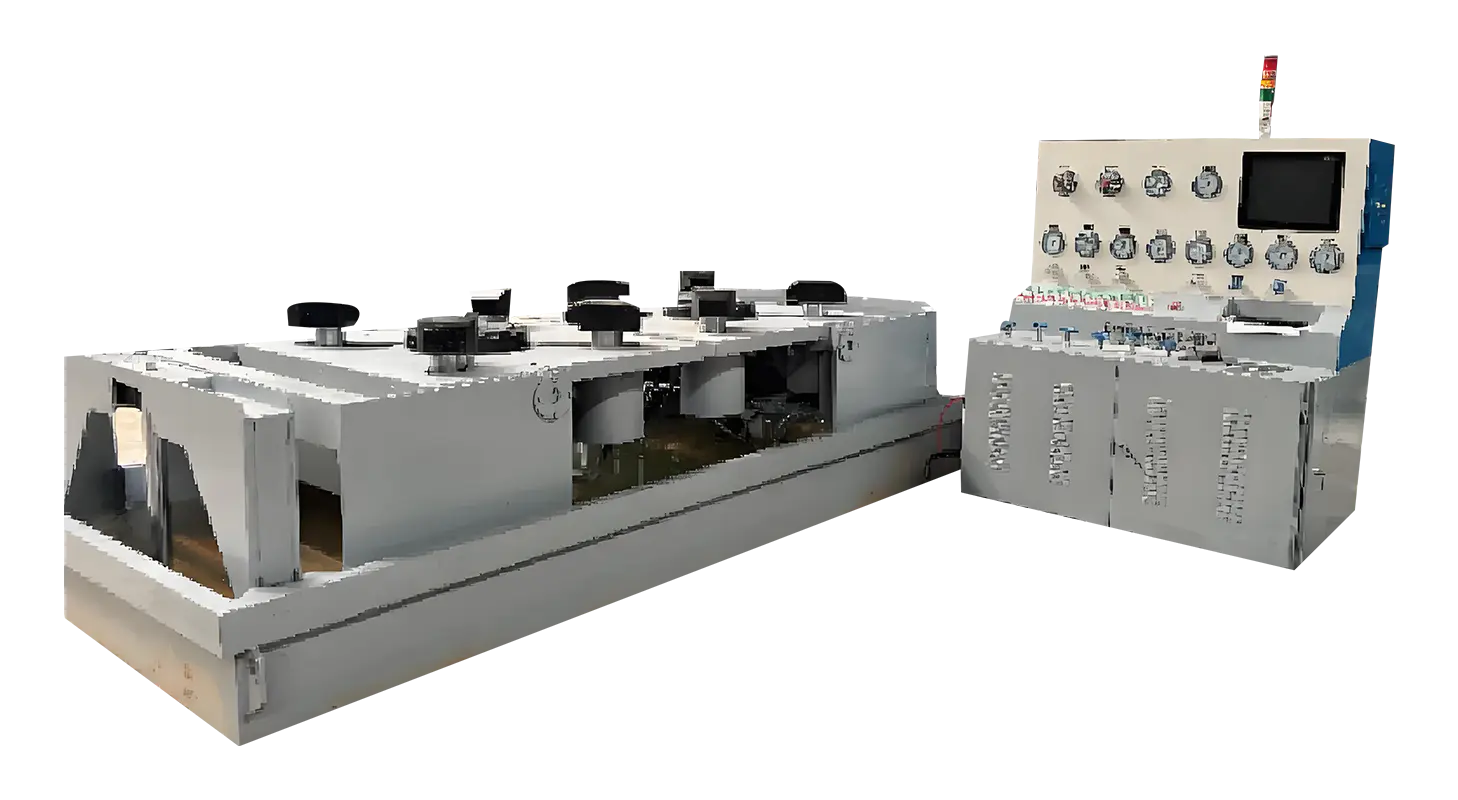
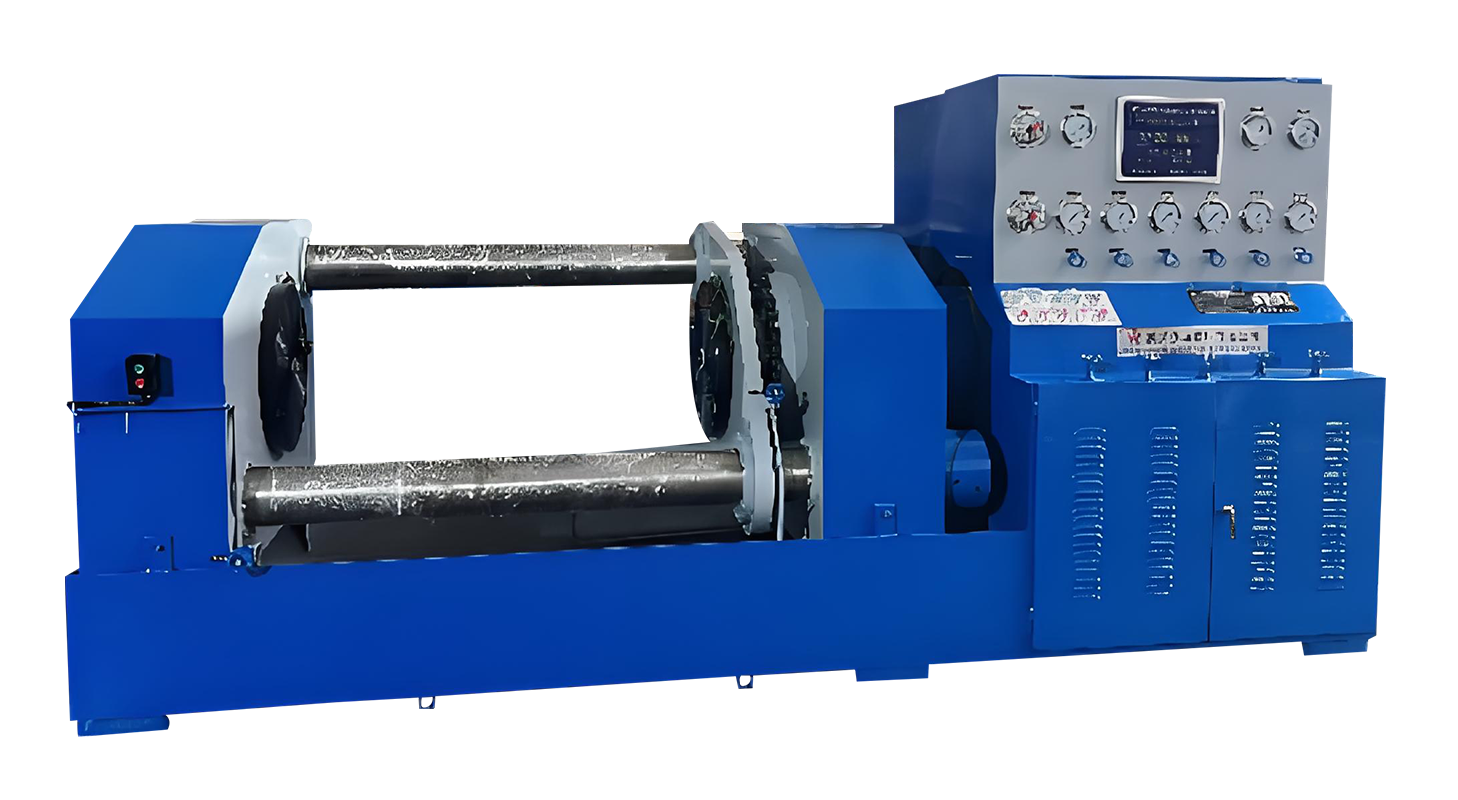
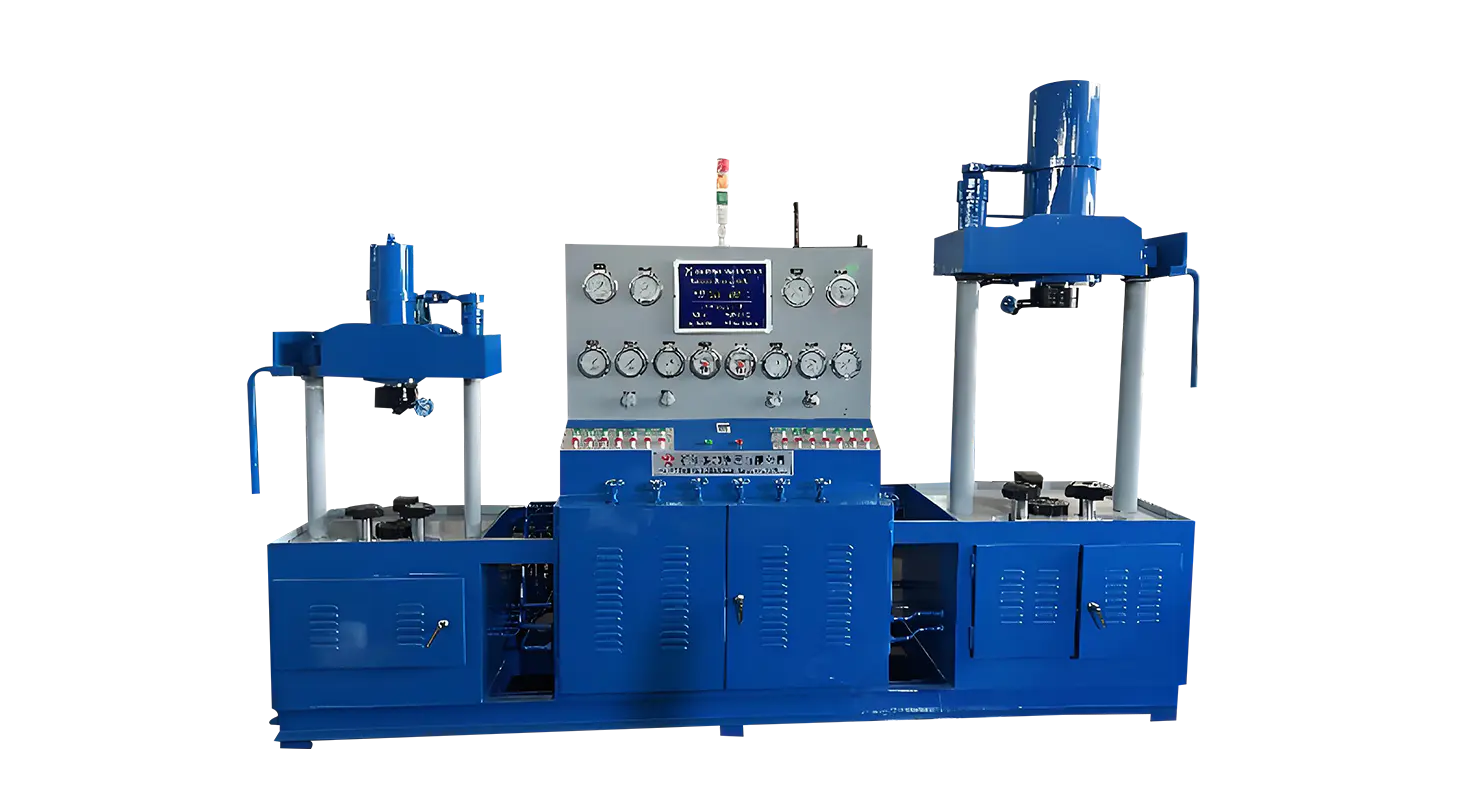
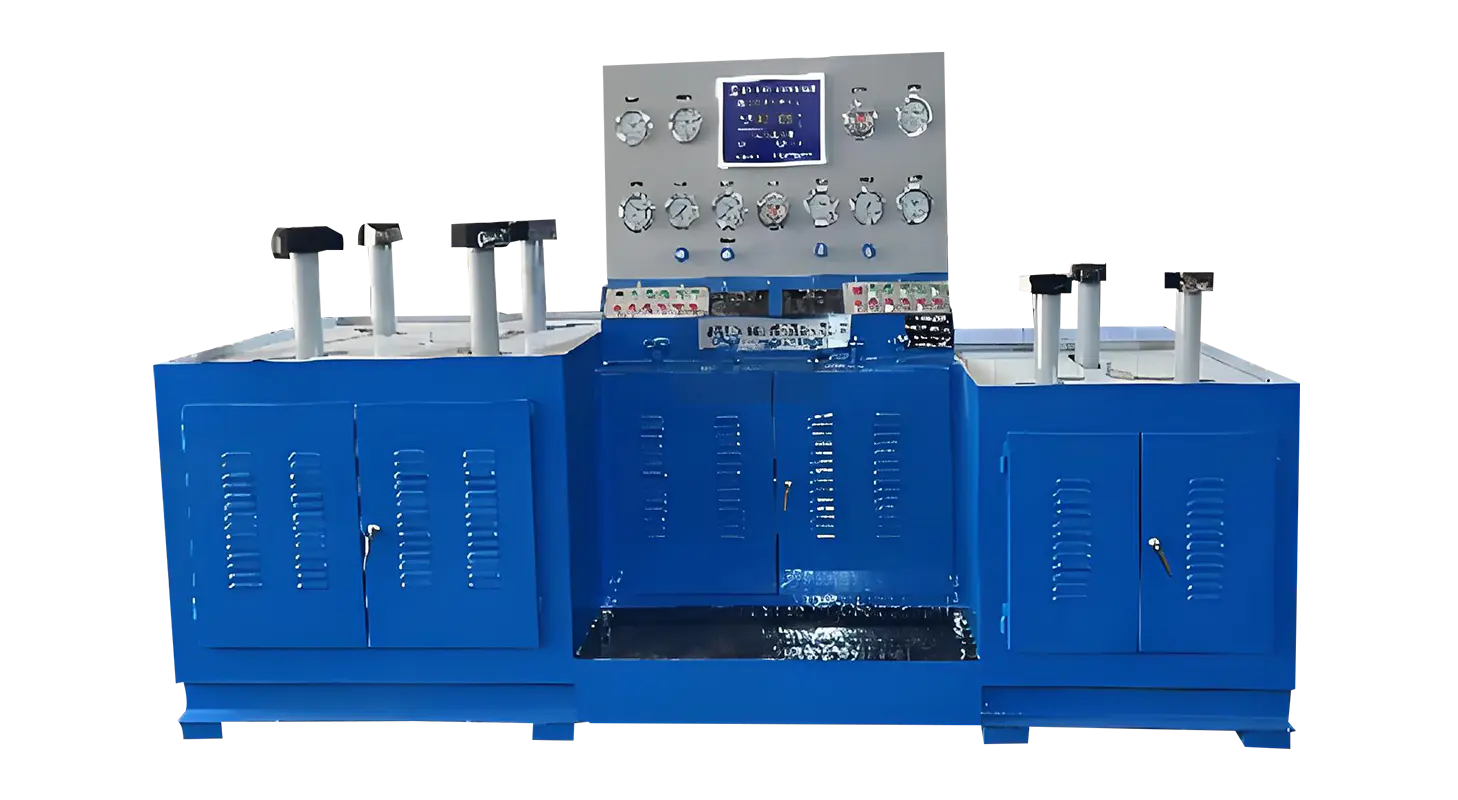
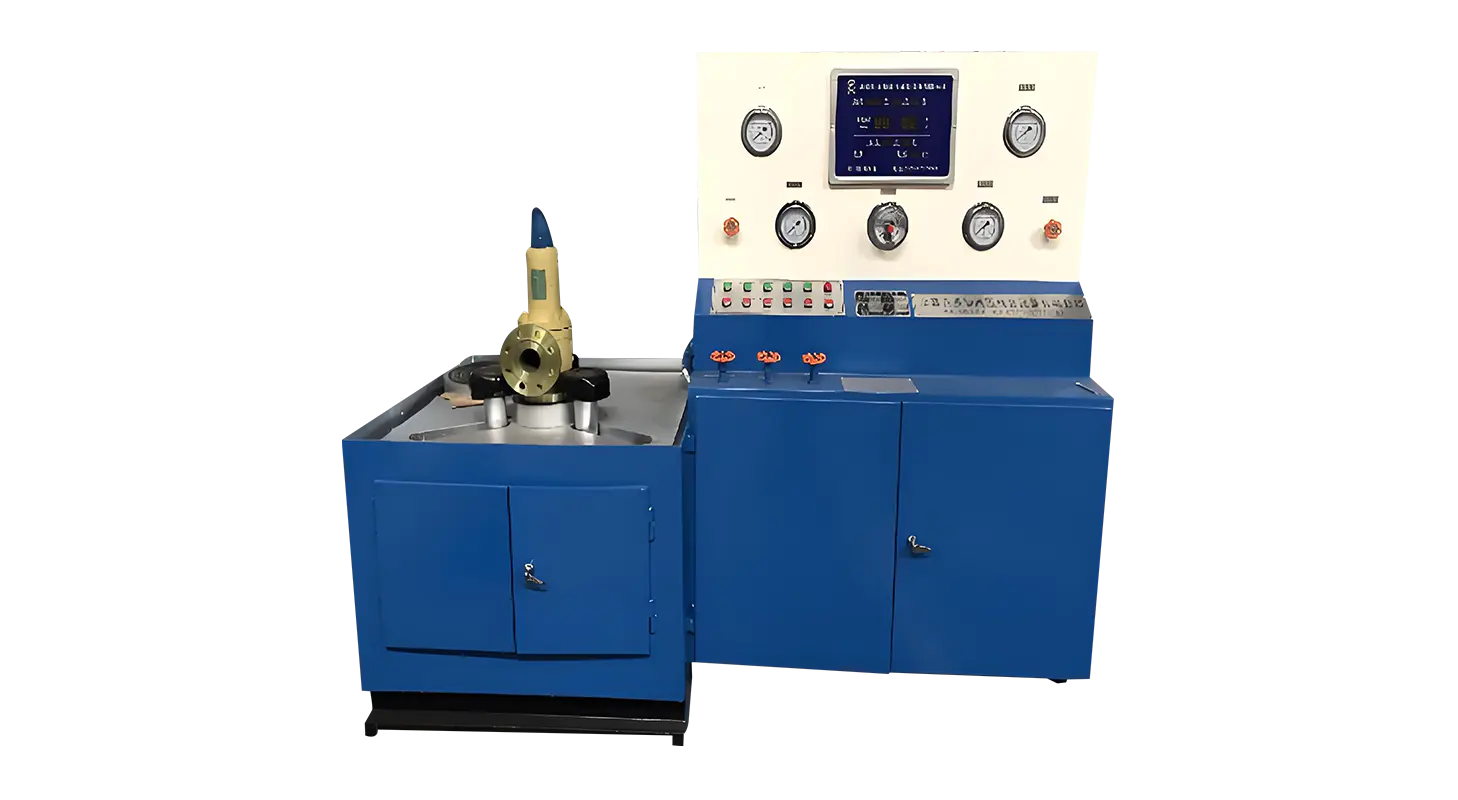
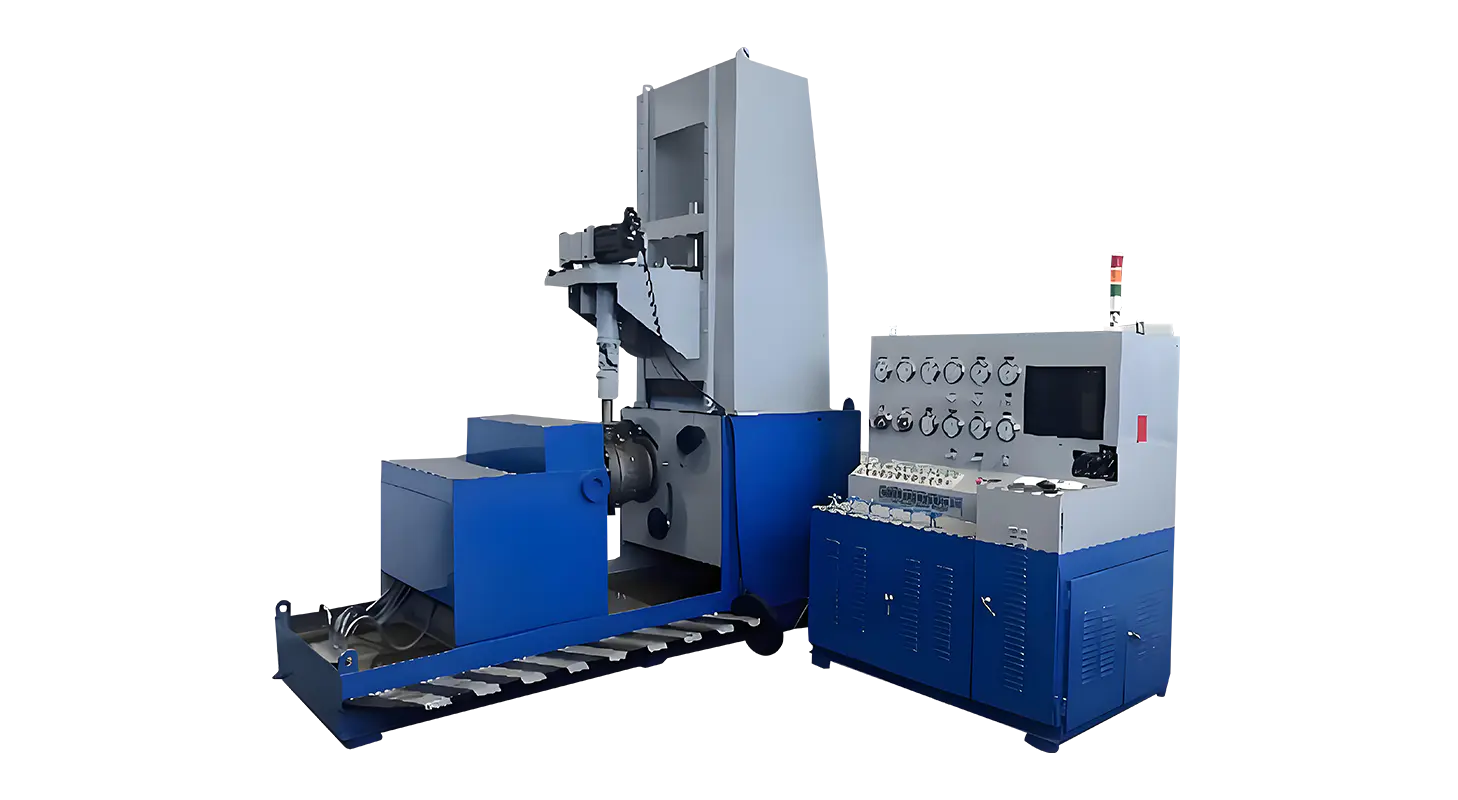
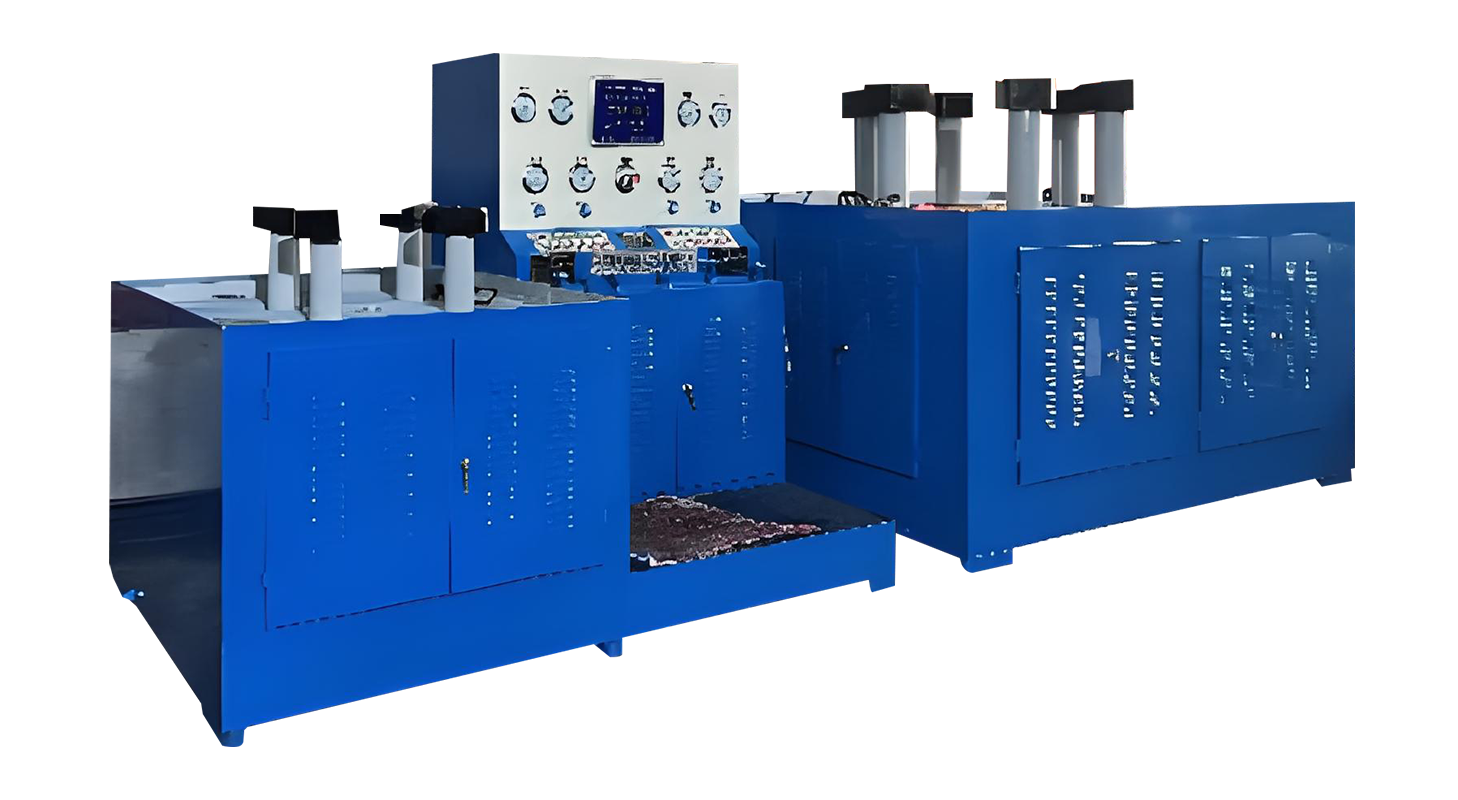
Related Products
Contact us
Address
Sanqiao Industrial Zone, Oubei, Yongjia County, Zhejiang Province, China
Phone
+86-13676520568
Telephone number
+86-13676520568
Fax
products
Quick Links
QR CODE