Nov 28, 2025
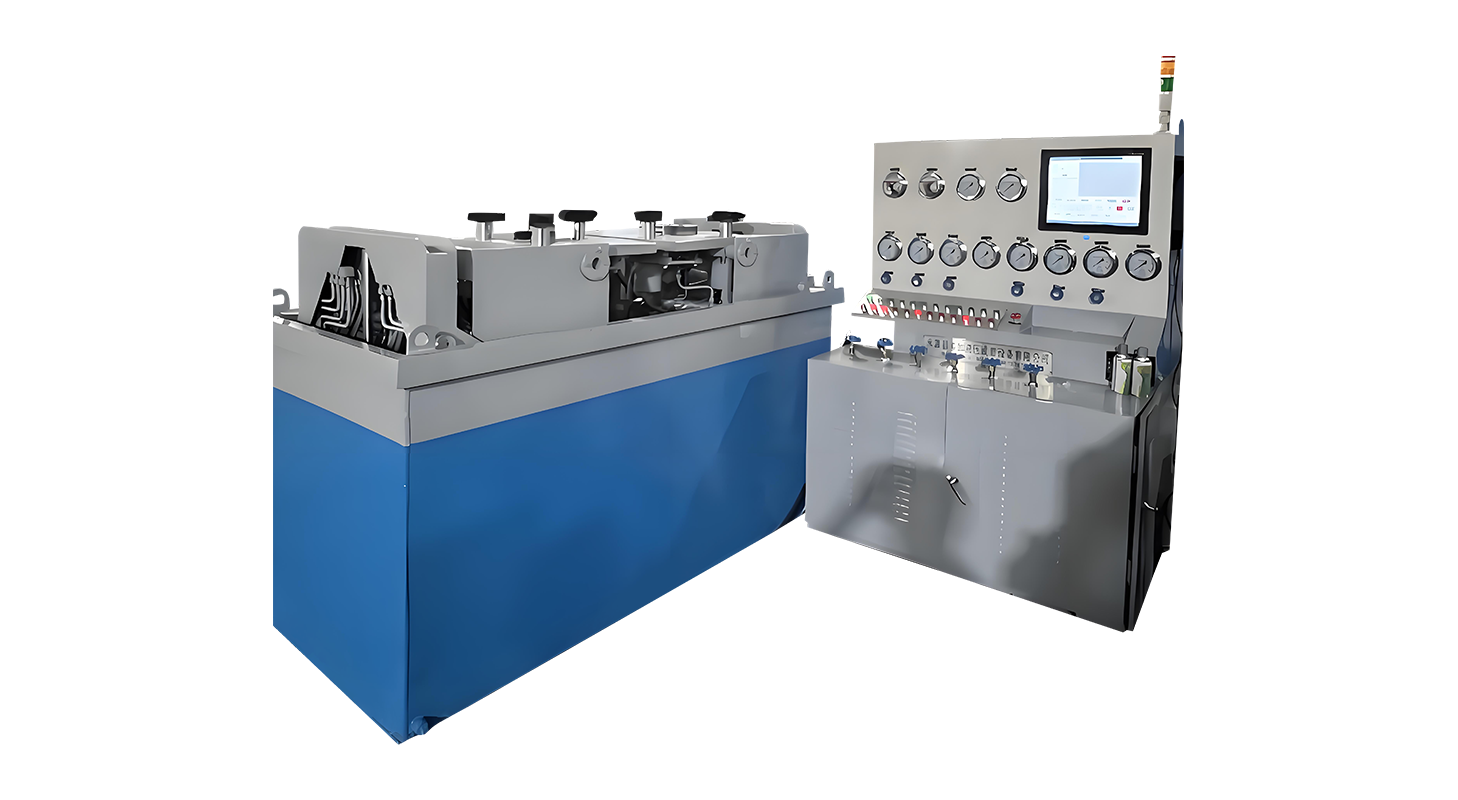
Accurate and repeatable pressure testing is fundamental in ensuring that valves perform as intended under operating conditions. Both the Relief Valve Test Bench and the Hydraulic Valve Test Bench are designed to verify valve performance by replicating real-world pressures and measuring response characteristics. For operators and engineers, understanding how to optimize testing accuracy and repeatability can significantly improve calibration quality and reduce operational variability in industrial applications.

Testing accuracy begins with a structurally stable and precisely aligned test system. The Hydraulic Valve Test Bench employs hydraulic clamping mechanisms that apply even force to the valve body, eliminating external influences that may distort test data. This system ensures that the valve is secured without deformation, so the pressure applied during testing truly reflects its performance capacity.
The flange-end positioning method enhances accuracy by ensuring perfect alignment between the valve and the pressure source.
Consistency in pressure buildup and maintenance directly affects test reliability. The Relief Valve Test Bench utilizes a dual-pump configuration—one low-pressure pump for rapid filling and one high-pressure pump for gradual pressure increase. This two-step pressurization process allows the system to reach the desired pressure level smoothly and prevents sudden spikes that could skew results.
Once the target pressure is achieved, the bench automatically transitions into a pressure-holding mode. Maintaining steady pressure for a specific duration enables more accurate observation of valve sealing behavior and opening pressure. Any fluctuation in pressure during this period can introduce measurement errors, which is why automated control systems are essential for repeatable and precise outcomes.
Temperature variations and different media characteristics can impact test repeatability. A Hydraulic Valve Test Bench that supports both water and gas testing must ensure proper temperature control and consistent media properties throughout the test. Water testing is typically used for sealing performance verification, while gas testing is suited for operational pressure simulation.
Recycling and filtering the water used during testing maintains its clarity and viscosity, ensuring consistent results across multiple test cycles. When switching to gas testing, operators should ensure that the medium is free from moisture and contaminants to prevent inconsistent flow and pressure responses. Consistency in test conditions—media type, temperature, and system cleanliness—plays a critical role in producing repeatable data.
By separating pressure ranges, the system provides better visibility into performance transitions, especially when testing valves with different pressure ratings. High-resolution gauges help confirm when the valve begins to open, how long it maintains a steady state, and when it reseals—all essential parameters for calibration analysis.
Digital pressure sensors and data acquisition systems can further enhance repeatability by eliminating reading errors caused by human observation. Logging data automatically ensures each test can be reviewed or compared later under identical conditions.
The zero-pressure safety interlock system ensures that valves cannot be unclamped until the internal cavity pressure is fully released. This safeguard not only enhances safety but also maintains test integrity by preventing sudden decompression, which could alter valve seat conditions or cause inaccurate readings in subsequent tests.
Additionally, automation ensures that every test follows a consistent sequence—mounting, pressurization, hold period, and release—reducing variability between operators. By maintaining identical testing steps each time, the repeatability of the results improves significantly.
Regular calibration of pressure gauges and sensors is essential for maintaining testing accuracy. Over time, even minor sensor drift or mechanical wear can introduce deviation in readings. Establishing a routine calibration schedule and verifying results with certified reference instruments ensures consistent performance.
Maintenance of hydraulic components, seals, and valves within the test bench also impacts accuracy. Worn seals can cause micro-leakage, altering pressure stability during tests. Cleaning and lubricating mechanical parts according to recommended intervals helps sustain precision over long-term operation.